Share Routes – Grant View-Only Access To Routes Via Email Or Link
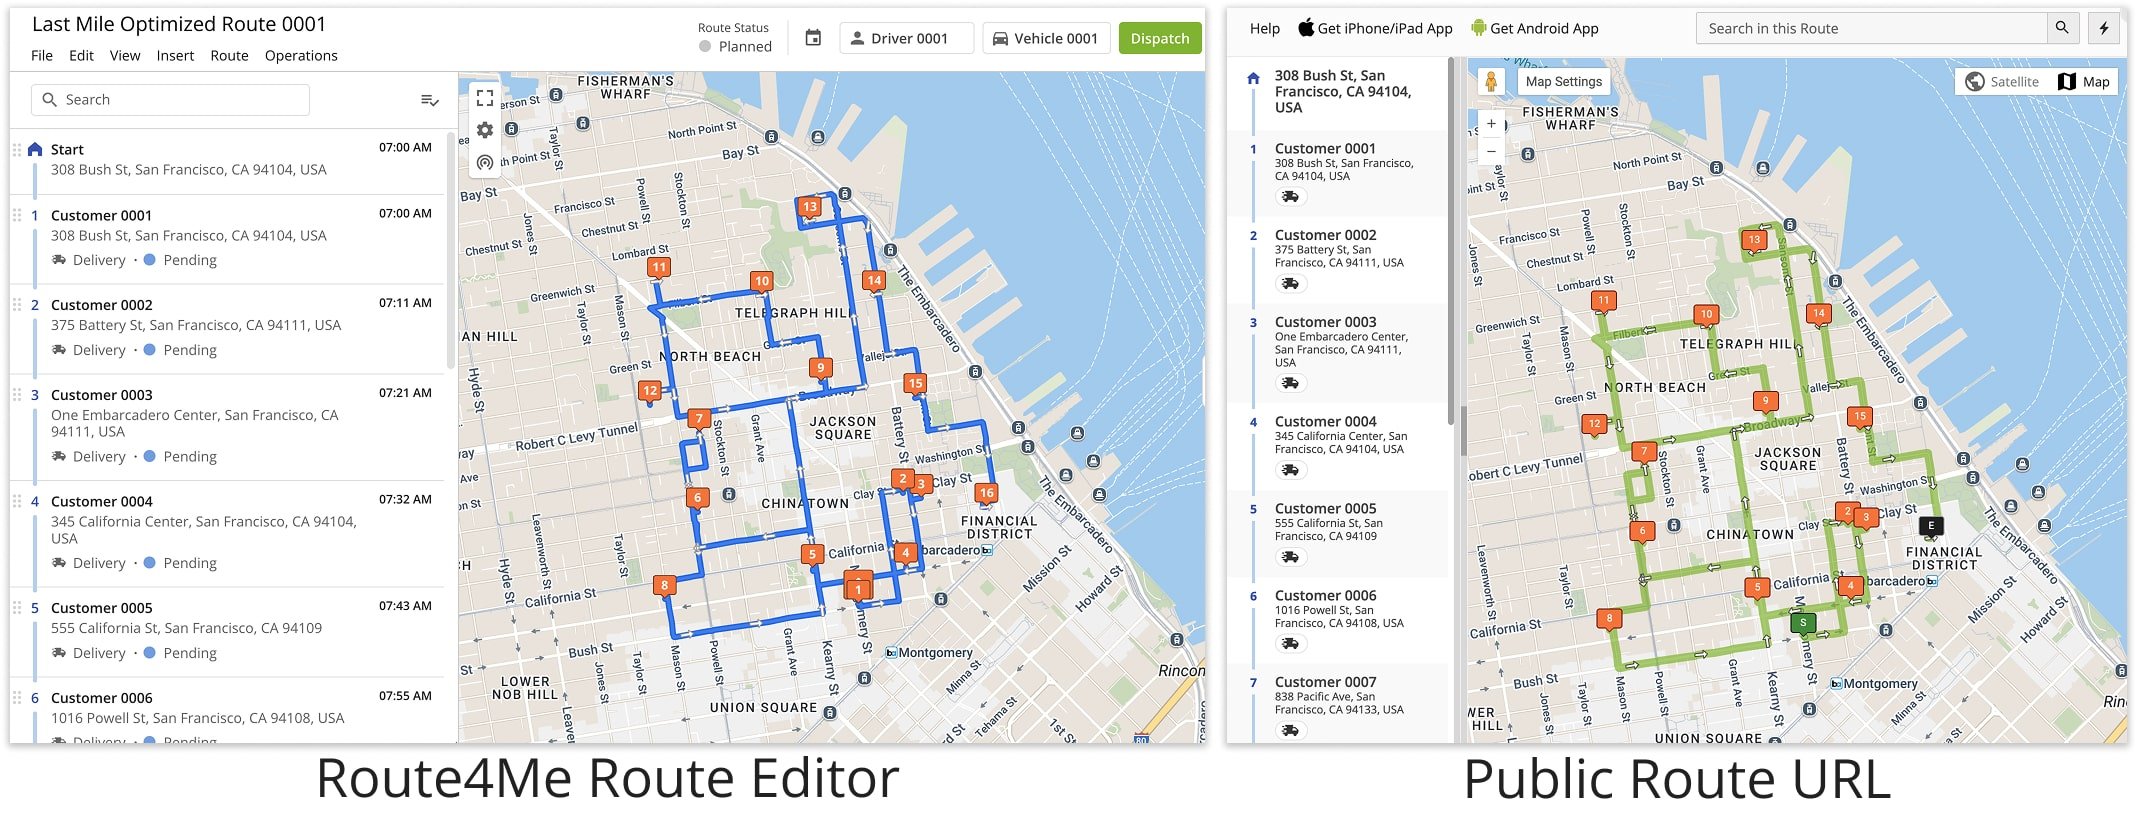
Sharing routes doesn’t have to mean giving full access – sometimes, you just want others to view them without being able to make changes. Whether it’s a Team Member in the field, a customer confirming delivery details, or a partner reviewing logistics, Route4Me makes it easy to share routes securely. You can send routes by email or copy and share a public link. Recipients can view the route, but they won’t be able to edit or access sensitive information. This guide covers the different ways you can share routes, whether you’re viewing them from the Routes List, Route Editor or Route Map.
Table of Contents
Share Routes Before Optimization – Set Up Sharing In Route Settings
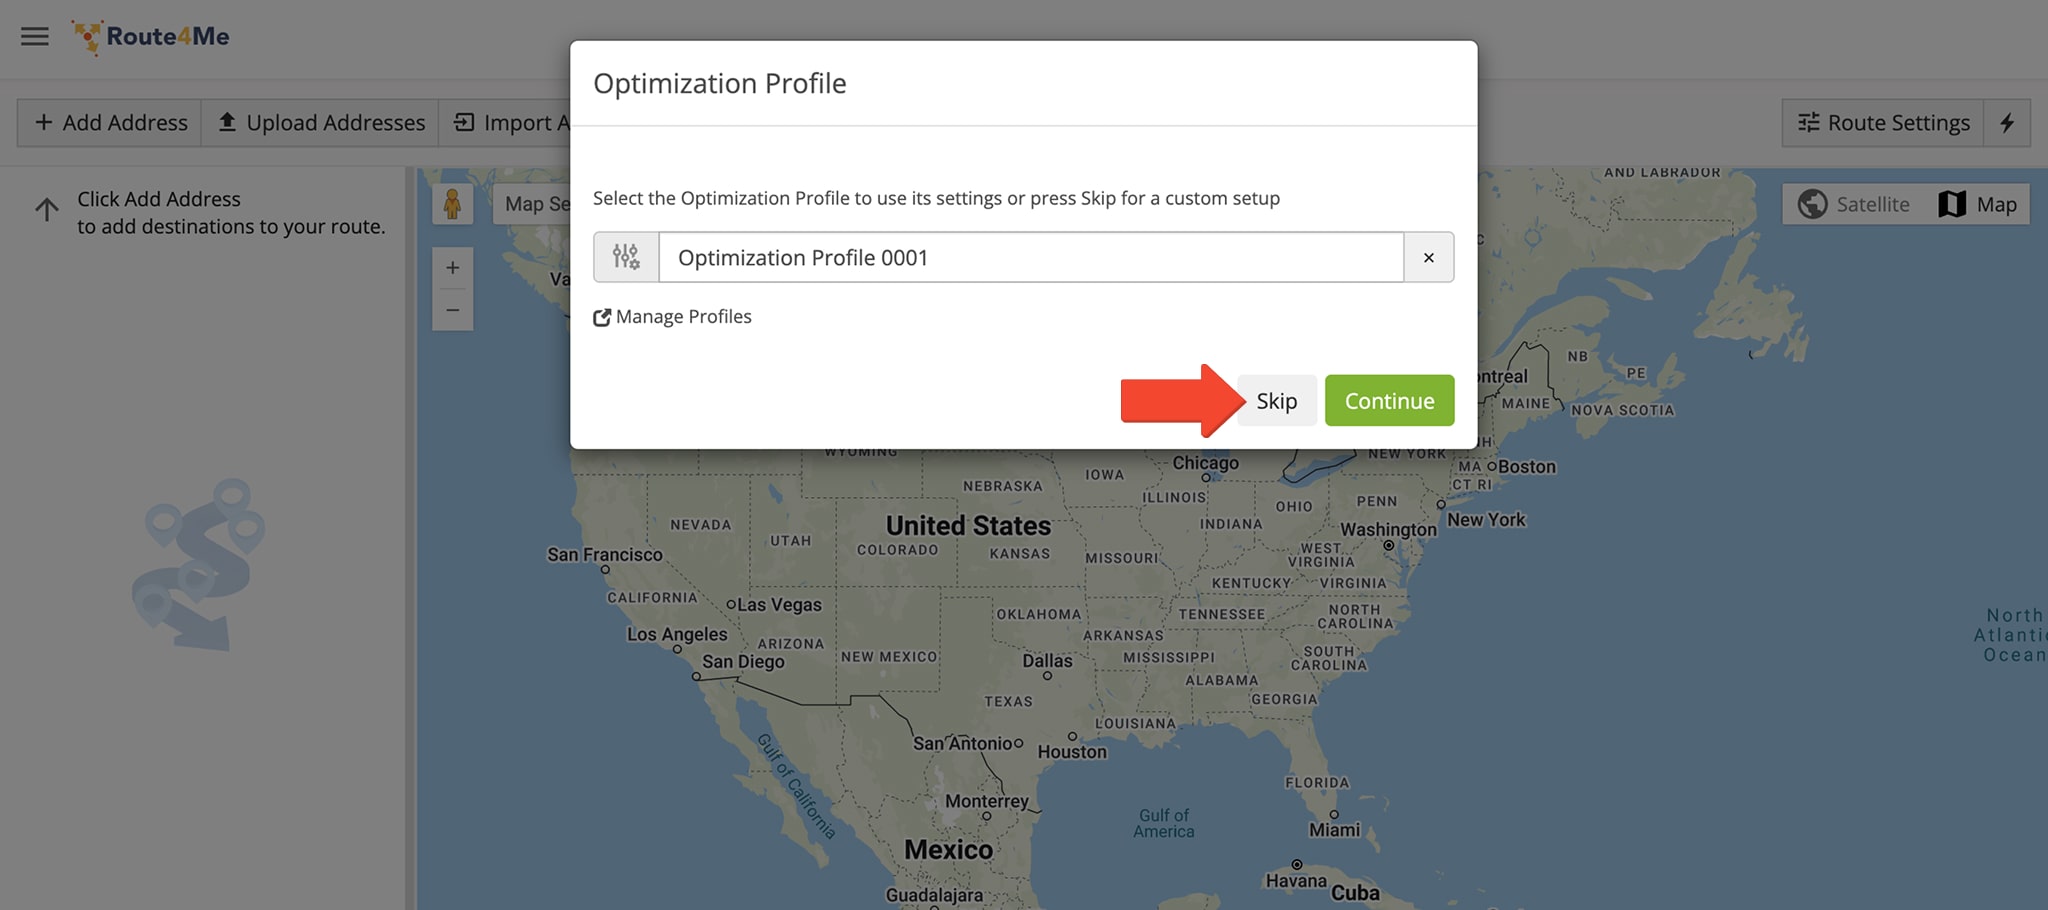
While planning routes, you can choose to automatically share them once they are planned and optimized. To do this, go to “Dynamic Routing” > “Plan New Route” in the Navigation Menu.
Choose your route planning method, then click “Skip” to customize the route’s optimization settings.
Open Your Route Planner
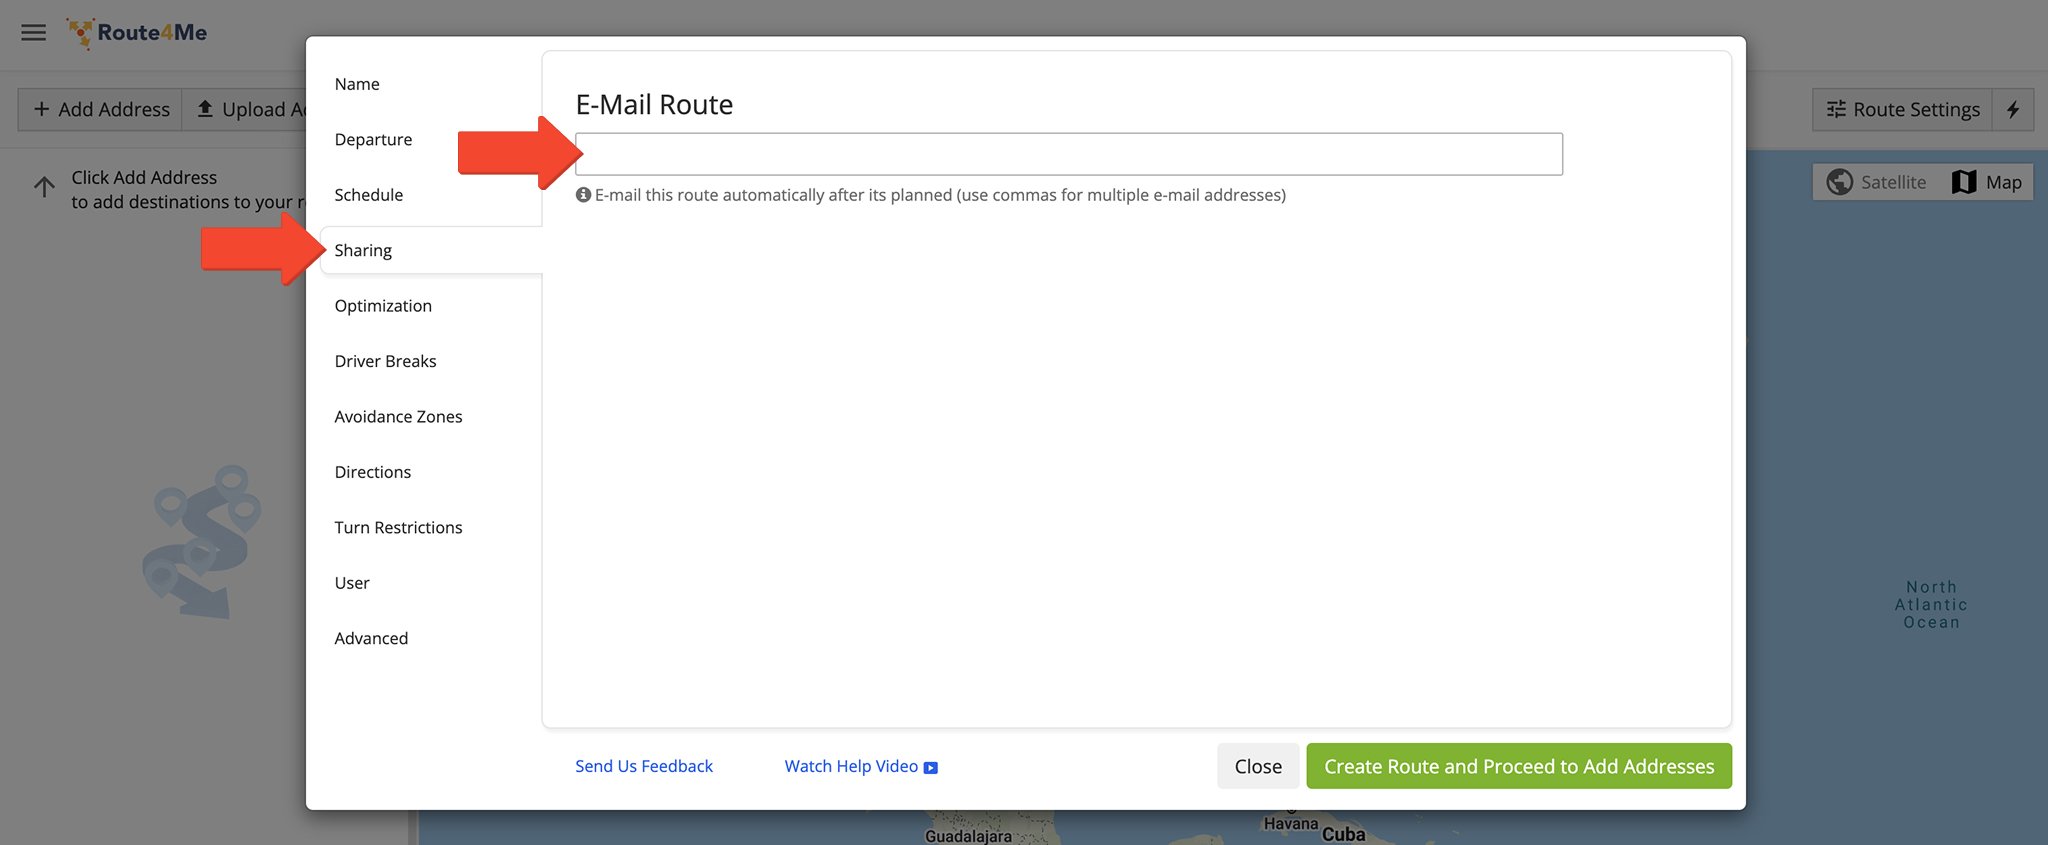
In the “Route Settings” editor panel, click the “Sharing” tab. Then, enter the email addresses of the individuals you wish to share the route with, separating each address with a comma.
Share Optimized Routes – Send Routes To Team Members Or Partners
You can share a route from several locations in your account, depending on where you’re working. Whether you’re in the Routes List, Route Editor, or Routes Map, sharing options let you send a view-only link or email it directly to others.
From The Routes List
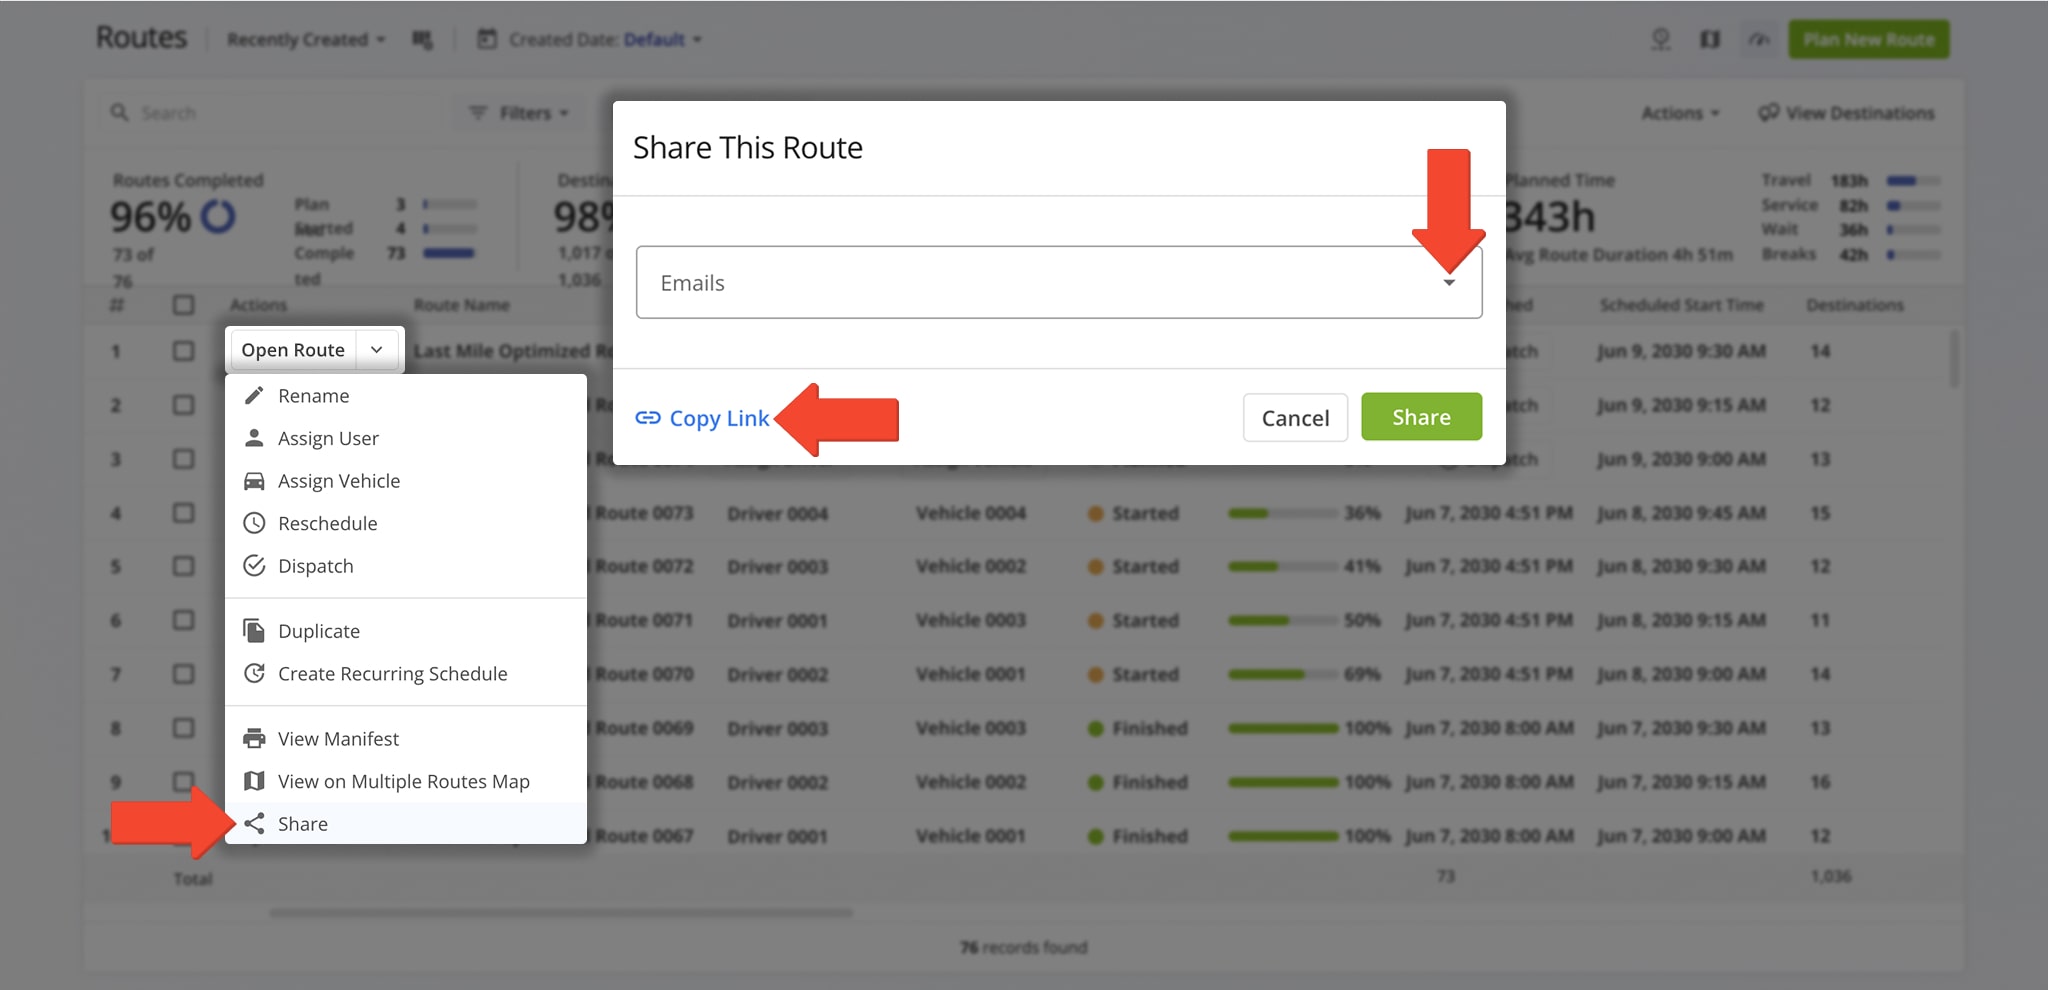
From the Routes List, click the Down Arrow Button next to the route you wish to share, then select “Share“. In the pop up window, select one or more emails from the drop down list or click “Copy Link” to share the route with individuals not included in the list.
From The Route Editor
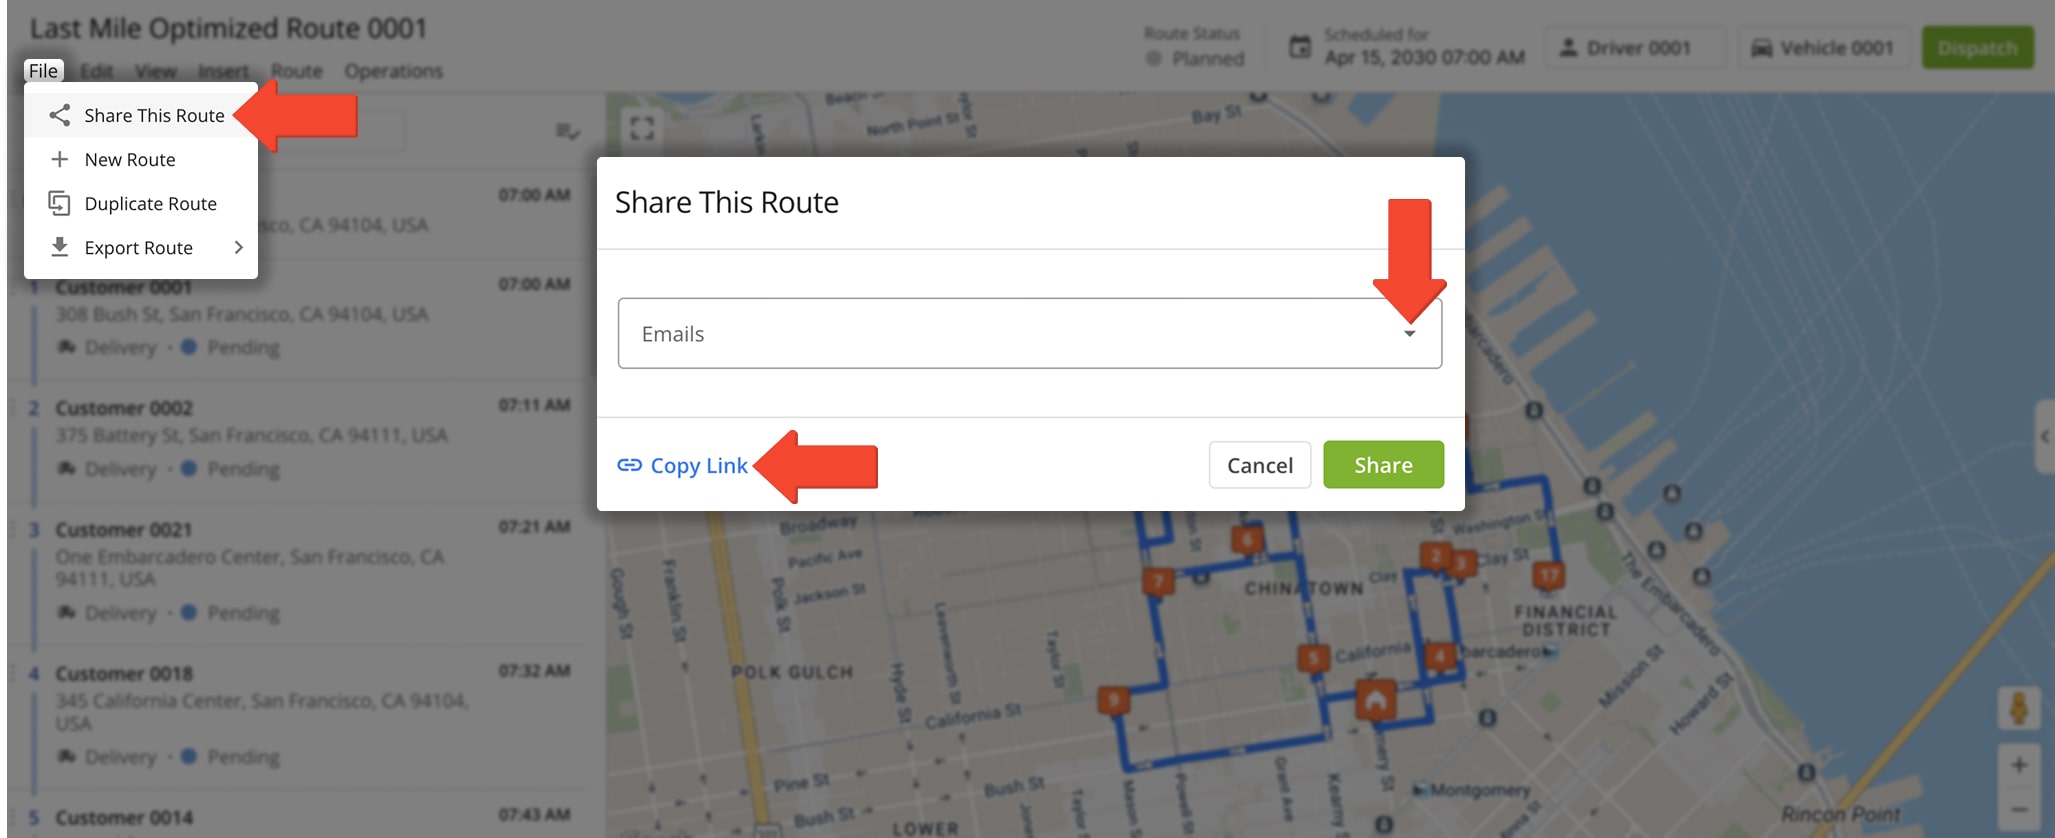
From the Route Editor, click “File” in the Toolbar, then select “Share This Route“. In the pop up window, select one or more email addresses from the drop down list or click “Copy Link” to share the route with individuals not included in the list.
From The Routes Map
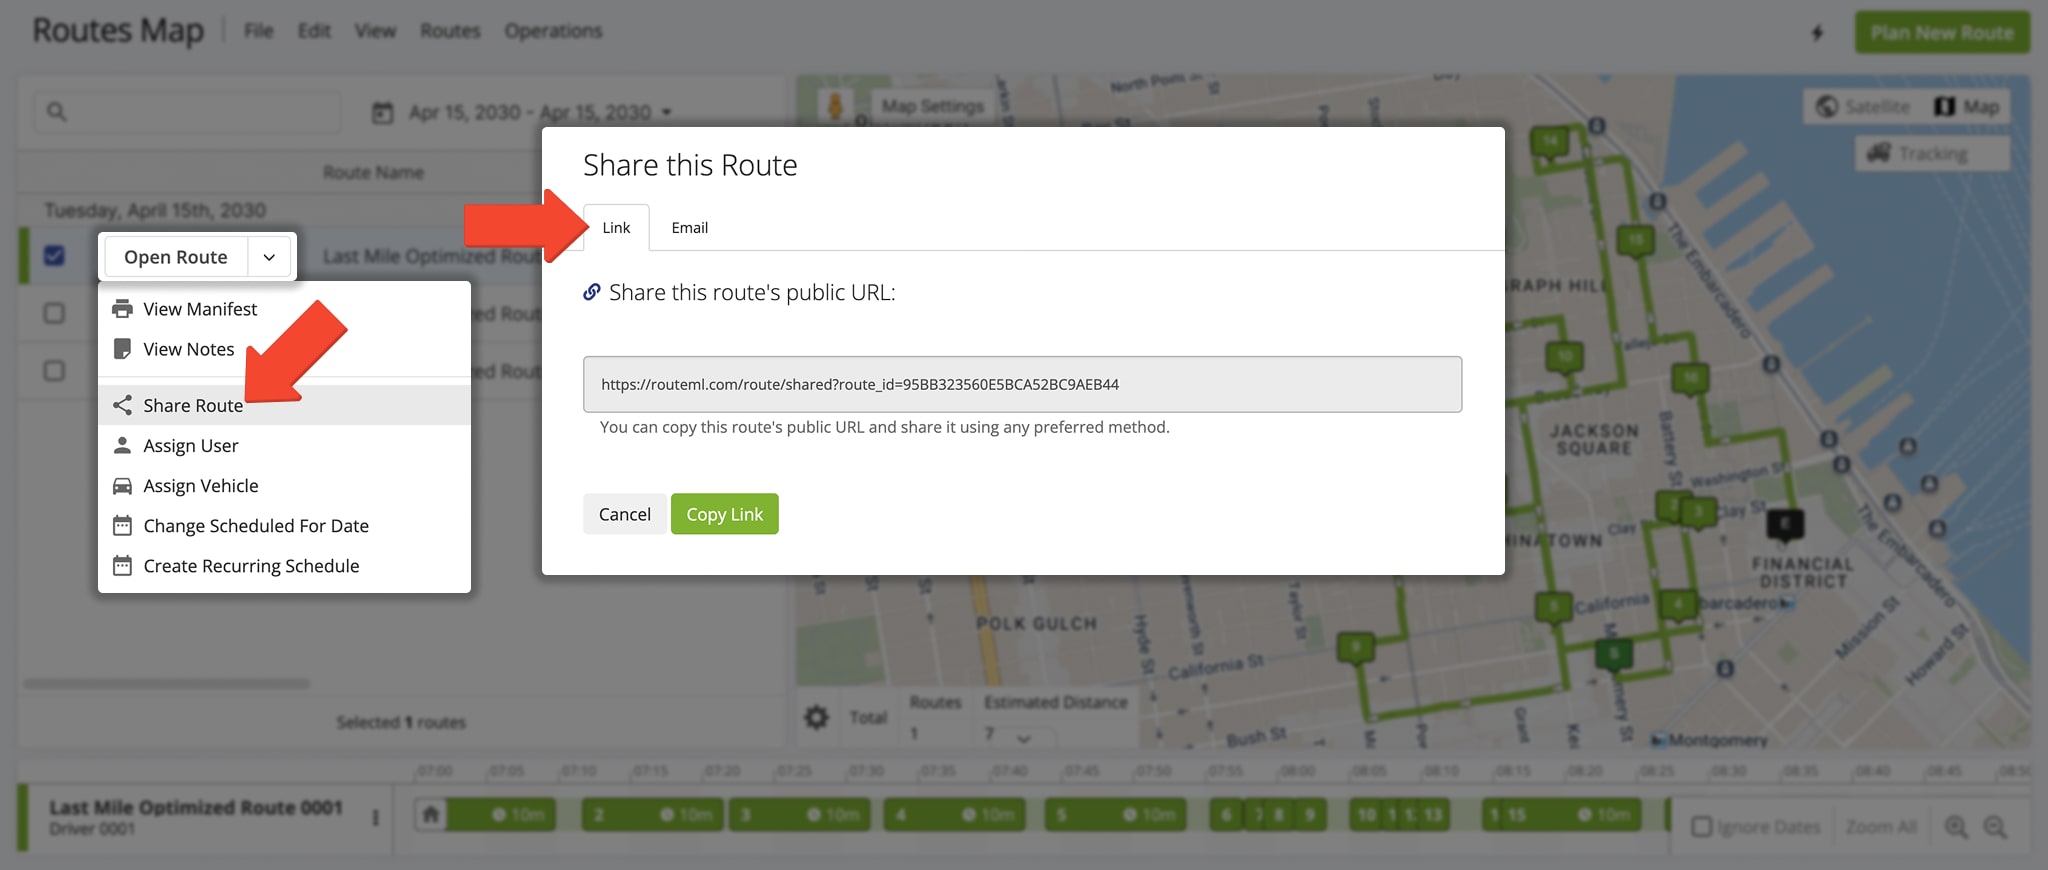
From the Routes Map, click the Down Arrow Button next to the route you wish to share, then select “Share Route“. From the “Link” tab in the pop up window, copy the route’s link to share it with others.
Alternatively, from the “Email” tab, select one or more Team Members or email addresses from the drop down list. You can also enter new email addresses into the “To” field.
Open Your Routes Map
Sharing And Assigning Routes: Key Differences
Sharing and assigning routes serve different purposes. When you share a route, you’re providing a public link – usually to customers or business associates without a Route4Me account – that lets others view, but not edit, a route.
Assigning a route, on the other hand, allows others – such as your team members – to manage, edit, and complete the route, depending on their User Permission Settings. NOTE: Learn more about assigning Users to routes.
Visit Route4Me's Marketplace to Check out Associated Modules:
- Operations
Audit Logging and Activity Stream
- Operations
Advanced Team Management Add-On
