Route4Me Enterprise Architect Desktop App
Route4Me Enterprise Architect is a specialized tool that is designed for large-enterprise businesses as well as any business that requires quick and smooth processing of substantial amounts of route planning data. The Enterprise Architect provides a powerful solution for enterprise routing and geocoding millions of points/addresses as well as optimizing multiple routes with hundreds of thousands of stops without the limitations of any modern web browser or internet connection speed. It also allows to generate and balance map territories and service areas with millions of addresses for territory-based route planning and optimization.

Route4Me Enterprise Architect provides a set of specially selected features from Route4Me’s Web-based Route Planning Platform with the focus on processing massive amounts of routing information. The Enterprise Architect is a standalone desktop uploader that is not affected or limited by the capacity of your internet browser or the speed of your internet connection. Therefore its responses to your requests are quick, smooth, and reliable when dealing with large amounts of data. The Enterprise Architect is also capable of seamlessly synchronizing the processed data with your Route4Me Web Account.


Fast and Precise Geocoding – With Route4Me Enterprise Architect, you can geocode thousands of addresses in seconds. Geocoding enables you to significantly increase the accuracy of your customers’ locations and ensure that your routes are as precise and efficient as possible. It also helps to fix insufficient or misspelled addresses by processing them and outputting complete and correct data.

Powerful Route Optimization – The Enterprise Architect allows you to easily plan and optimize multiple routes with hundreds of stops in a fast and smooth manner. It enables you to effortlessly compile and dispatch substantially-sized routes without any limitations of your internet connection or the capacity of your web browser. The combination of powerful route optimization and precise geocoding will ensure that you always plan the most time-efficient and cost-effective routes.

Efficient Territory Generation – Using the Enterprise Architect, you can effortlessly generate multiple territories with thousands of addresses of your customers. Territory-based route planning enables you to efficiently distribute your resources and make sure that you always assign the right people and vehicles to the right routes and customers.
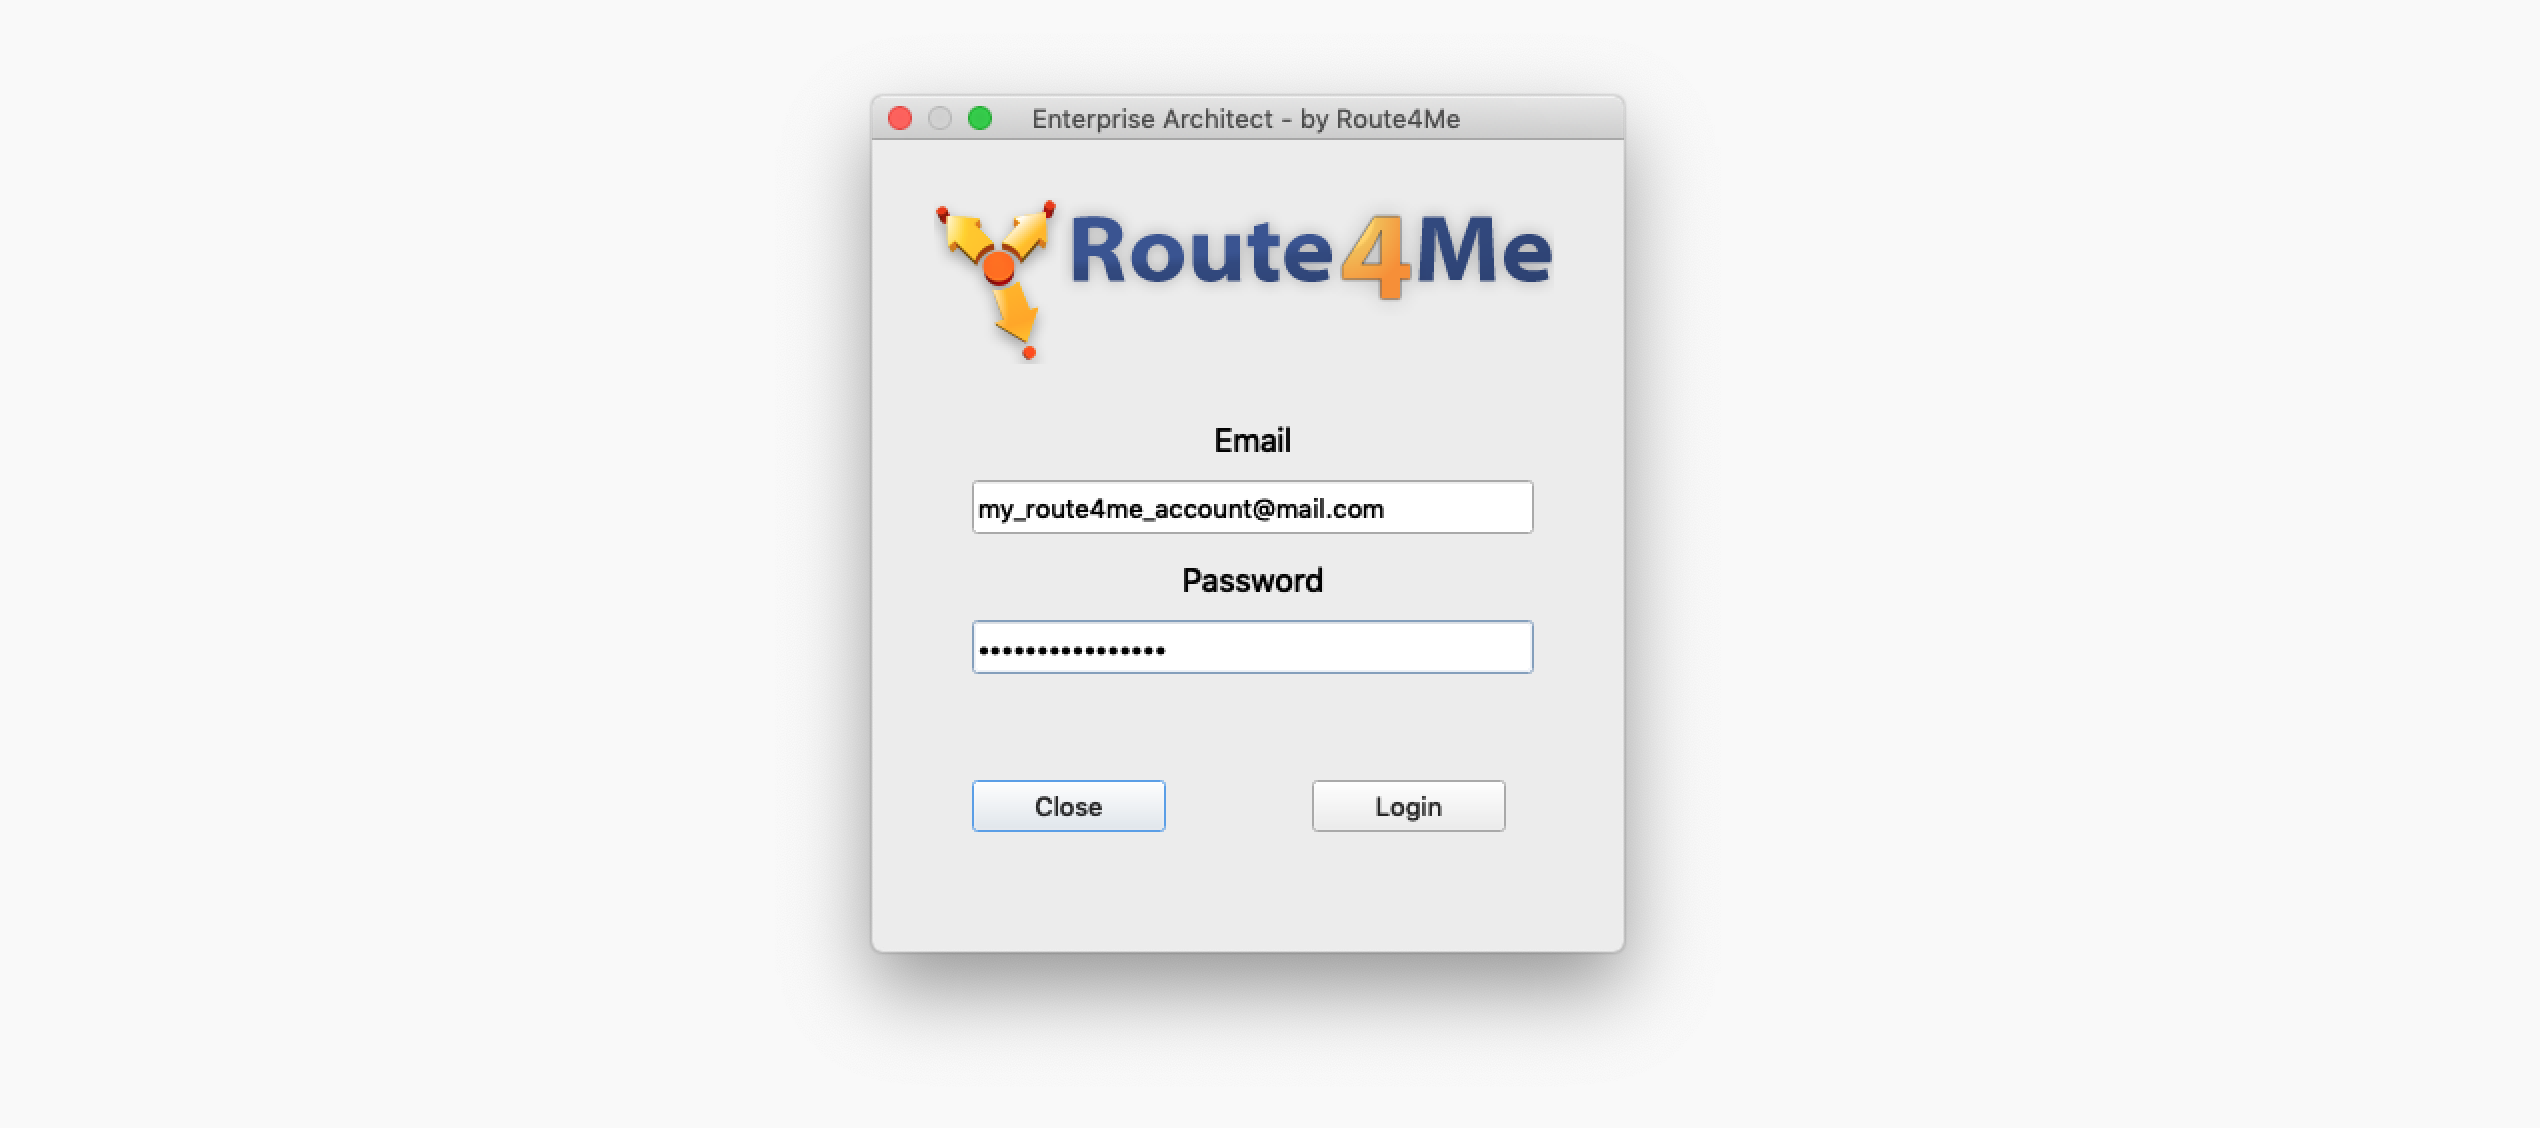
The Route4Me Enterprise Architect is supported on Windows and Mac OS operating systems. To get access to the Enterprise Architect, please contact our Customer Success Department. Once you installed the Enterprise Architect on your computer, you can log in using the same credentials as to your Route4Me Web Account.
Visit Route4Me's Marketplace to Check out Associated Modules:
- Route Optimization
Time Windows
- Route Optimization
Recurring Routing
- Operations
Advanced Team Management Add-On
- Operations
Custom Data Add-On