Bulk Order Upload – Import Multiple Orders Data
When you need to import multiple orders into your Route4Me account, first, you need to upload a spreadsheet with the corresponding orders data into the route optimization system. After that, Route4Me route planning software will automatically create a separate customer profile/contact from each imported entity in the synchronized Address Book and then you will be able to use all that data for generating new orders. With Route4Me’s near real-time data synchronization, once you generate new orders from the Route4Me Route Optimization Web Platform, these orders instantly become available on Route4Me’s iOS and Android Route Planner apps.
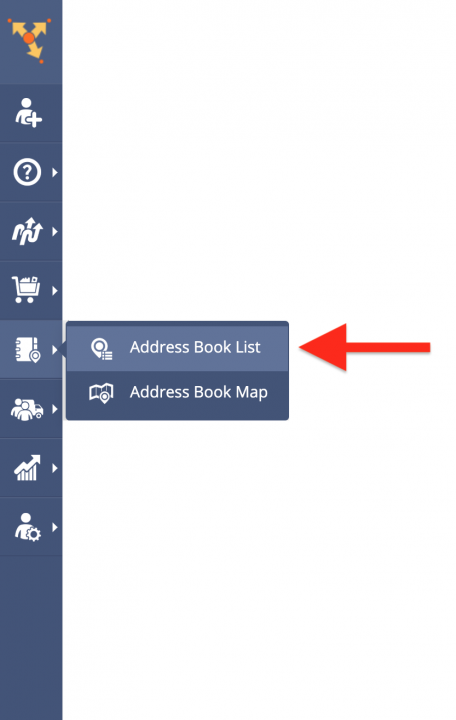
To import multiple orders into the system, first, you need to upload a spreadsheet with the orders data into the Address Book. To do so, go to “Address Book List” from the navigation menu.
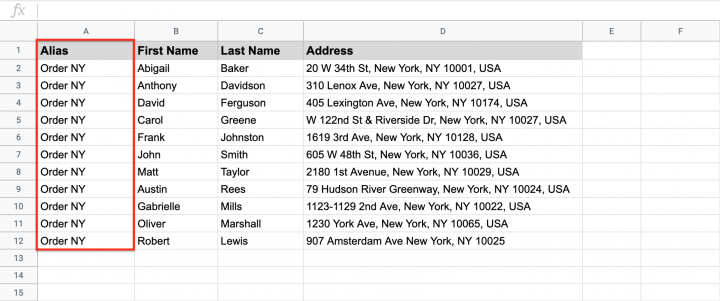
When you are importing orders data into the Address Book, for easier filtering and searching, make sure that you assign a particular identifier to the addresses that you want to use for generating orders. For example, you can use the “Alias” column (reserved field) to group-code the addresses that you will use for generating orders.
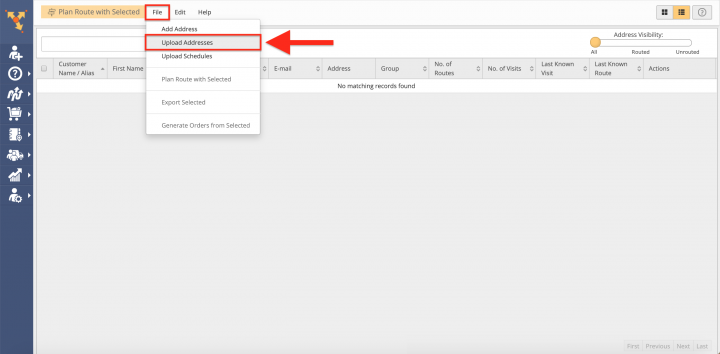
Next, in the Address Book List, go to “File” and then select “Upload Addresses” from the list.
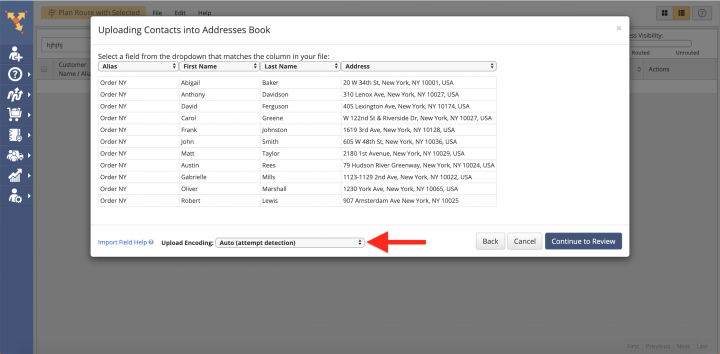
Once you upload the spreadsheet, Route4Me processes the imported data and displays it in the corresponding window. Select the “Auto (attempt detection)” option for the system to automatically assign the right column titles to their corresponding reserved attributes. Learn more about how you can import addresses into the Address Book List.
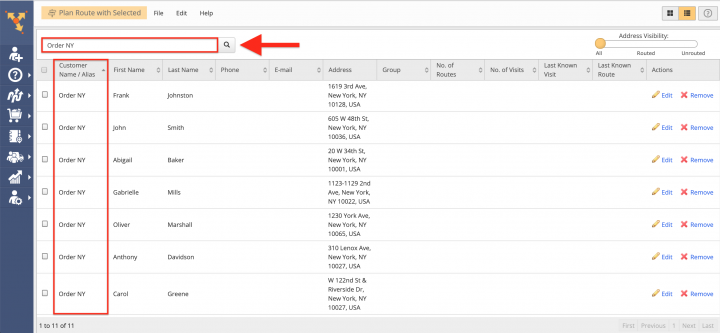
Once the orders data is imported into the system and the Route4Me Route Optimization software generated the corresponding addresses/contacts, you can use the previously defined alias or any other identifier for filtering the addresses/contacts that you want to use for generating orders.
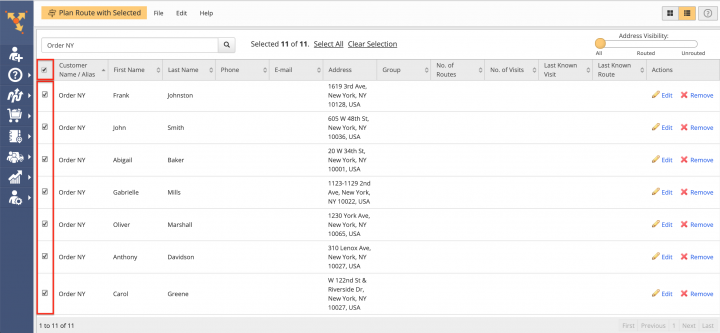
Next, select the addresses that you want to use for generating orders by checking the corresponding boxes.
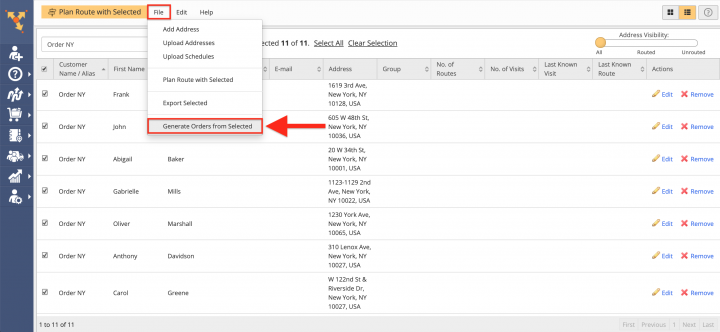
After that, go to “File” and then select “Generate Orders from Selected” from the list.
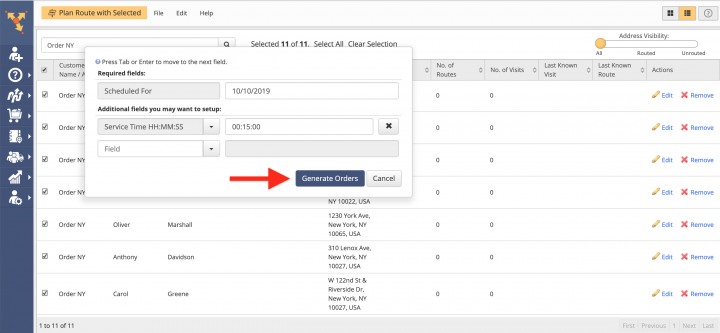
Next, add more fields to the orders you are generating (optional) and then click on the corresponding button to finish. Learn more about how you can generate orders from Address Book contacts and addresses.
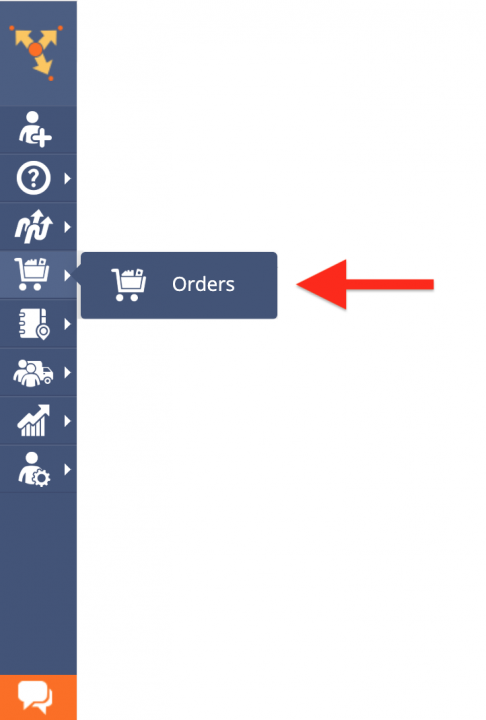
To view and use the generated orders, first, go to “Orders” from the navigation menu.
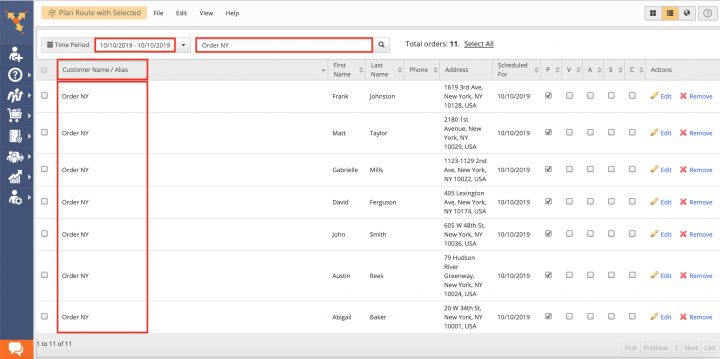
In your Orders List, you can search for the generated orders by the aliases or any other attributes that were contained in the addresses from which the corresponding orders were generated.
