HubSpot CRM Integration With Route4Me Via Zapier
HubSpot CRM is a cloud-based customer relationship management (CRM) software that is focused on tracking leads and converting leads into customers. HubSpot CRM provides various businesses of all sizes with effective and user-friendly tools for lead generation, adjustable web forms, live bots, live chats, tools for advertising, helpdesk tools, and more. With Route4Me, you can establish a connection between your HubSpot CRM and Route4Me accounts via Zapier for contact synchronization. Zapier is a powerful integration platform that works as a translator between different APIs, allowing you to bridge the gap between various web applications and automate tasks across them. Once you established a connection and automated contact synchronization between your HubSpot CRM and Route4Me accounts, whenever you create a new HubSpot CRM contact, this contact will be automatically copied into your Route4Me Synced Address Book with the same contact details and even custom data.
Table of Contents
Integrate HubSpot CRM With Route4Me Using Zapier
You can seamlessly synchronize and use your HubSpot CRM contacts for planning optimized routes, inserting your HubSpot CRM contacts into the best already planned routes, etc., without having to manually copy the details of each contact and jumping from one software to another.
To integrate your HubSpot CRM account with your Route4Me account using Zapier, first, log into your Zapier account accordingly. Next, you need to create a Zap that will establish a connection between your HubSpot CRM and Route4Me accounts. To do so, you can start by selecting HubSpot CRM and Route4Me in the “What apps do you want to connect today?” section in the Dashboard. Alternatively, click on the “Make a Zap!” button from any screen.
Setting Up the HubSpot CRM Trigger Event
To integrate your HubSpot CRM account with your Route4Me account so that every time a new contact is created on your HubSpot CRM account, a new contact with the same details is automatically created in your Route4Me Synced Address Book, you need to set up the corresponding HubSpot CRM Trigger Event and Route4Me Action Event. To set up the HubSpot CRM trigger event, first, search for and select HubSpot CRM at the “When this happens …” integration stage at the “Choose App & Event” integration sub-stage. You can also name your Zap in the top left corner of the screen before proceeding.
Next, select “New Contact” from the “Choose Trigger Event” drop-down list and then click “Continue” to proceed.
After selecting the preferred trigger event, sign into your HubSpot CRM account by clicking on the “Sign in to HubSpot CRM” button. Next, select the HubSpot CRM account you want to link to this Zap from the “HubSpot CRM account” list or sign into another HubSpot CRM account and then click on the “Continue” button to proceed.
After logging in or selecting the preferred HubSpot CRM account, click “Continue” and then click “Test & Continue” to proceed.
Setting Up the Route4Me Synced Address Book Action Event
After setting up the preferred HubSpot CRM trigger event (“New Contact”), you need to set up the corresponding action event for your Route4Me Synced Address Book so that every time a new contact is created on your HubSpot CRM account, a new contact with the same details is automatically created in your Route4Me Synced Address Book. To do so, first, search for and select Route4Me at the “Do this …” integration stage at the “Choose App & Event” integration sub-stage.
Next, select “Create an Address” from the “Choose Action Event” drop-down list and then click “Continue” to proceed.
After selecting the preferred Route4Me action event, sign into your Route4Me account (Primary Route4Me Account) by clicking on the “Sign in to Route4Me” button. Next, input your Route4Me API key into the corresponding field and then click on the “Yes, Continue” button to proceed.
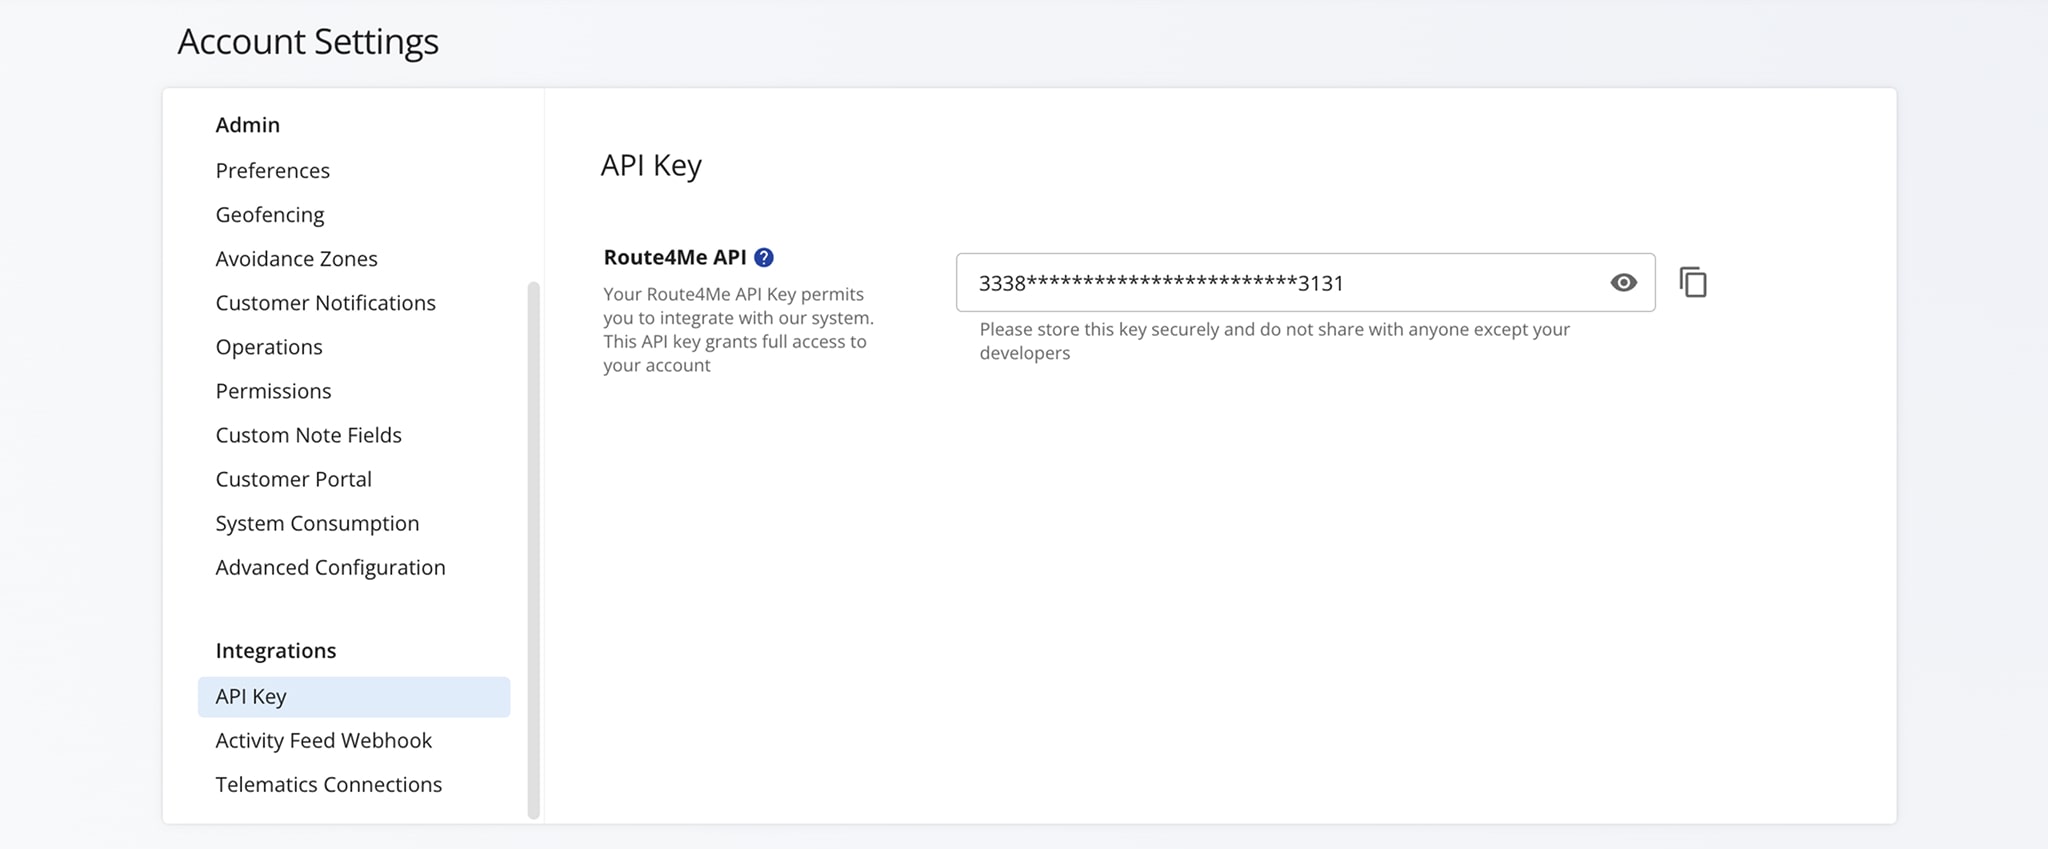
To find and copy your Route4Me API key, first, log into the Route4Me account that you want to integrate with your HubSpot CRM account. Next, go to “My Account” from the navigation menu and then select “API” from the list (learn more). After that, you can copy your Route4Me API key accordingly.
Specifying Contact Synchronization Data
After establishing a connection between your HubSpot CRM and Route4Me accounts, you need to specify what data will be synchronized from the new HubSpot CRM contacts you create (trigger event) into the corresponding automatically created Route4Me Synced Address Book contacts (action event). NOTE: For your convenience, make sure that you have previously created at least one contact on your HubSpot CRM account so that Zapier can use the data from this contact as an example of what data will be pulled from each new HubSpot CRM contact you create and copied into the corresponding automatically created Route4Me Synced Address Book contacts. Alternatively, use the examples provided in the HubSpot CRM’s sample contact by default. For example, when selecting what “Address” data will be copied from a new HubSpot CRM contact (trigger event) into the corresponding Route4Me Synced Address Book contact (action event), the right placeholder value to select for this field will be the value that shows the address of your last created HubSpot CRM contact or the “Sample Street Address Value” placeholder value.
Each field at the “Customize Address” integration sub-stage should contain the data (placeholder(s)) that will be copied from the corresponding fields in your newly created HubSpot CRM contacts and inserted into the corresponding fields in your automatically created Route4Me Synced Address Book contacts. To automate the synchronization process and make sure that the right data is dynamically pulled from each new HubSpot CRM contact and copied into the right fields of the corresponding Route4Me Synced Address Book contacts, use placeholders. For your convenience, you can use the data from the HubSpot CRM’s sample contact as an example of what data will be dynamically pulled from each new HubSpot CRM contact you create and copied into the corresponding Route4Me Synced Address Book contacts.
In the “Address Group” field, you can specify a custom group ID that will be assigned to all contacts that are created on your HubSpot CRM account and synchronized into your Route4Me Synced Address Book. Thus, when you have hundreds of thousands of contacts in your Route4Me Synced Address Book, you can effortlessly sort all contacts synced from your HubSpot CRM account by their custom group ID. To learn more about group-coding addresses and using Route4Me’s Advanced Search Groups, visit this page.
The data fields from your HubSpot CRM contacts that don’t fit into Route4Me’s reserved attributes/fields (i.e., Title, Department, Account Name, etc.) can be copied from your HubSpot CRM contacts (trigger event) and inserted into your Route4Me Synced Address Book contacts (action event) as Custom Data. In the “Address Custom Data” section, add one or multiple custom data fields, name these fields, and then insert the placeholders that you want to be dynamically copied from your new HubSpot CRM contacts (trigger event) into your Route4Me Synced Address Book contacts (action event) as custom data. After setting up custom data → Click “Continue” → Review all added data fields → Click on the “Test & Continue” button to finish creating the Zap.
Once the Zap is created and enabled, Zapier will automatically test the new Zap and create a new Route4Me Synced Address Book contact to test the established connection and data synchronization. The created Route4Me Synced Address Book contact must contain the same details as in the examples of the placeholders that were inserted into the corresponding fields of the Zap at the “Customize Address” integration stage.
After creating the Zap, you can enable and disable it at any time, as well as edit its functionality and fields to your preference:
- To learn more about managing your Zaps, visit this Zapier Support Page.
- To learn more about troubleshooting your Zaps, visit this Zapier Support Page.
Using the Created Zap (HubSpot CRM Trigger Event + Route4Me Action Event)
After creating and enabling the Zap, you can start using it for synchronizing your new HubSpot CRM contacts with your Route4Me Synced Address Book. To create a new contact on your HubSpot CRM account, first, go to “Contacts” from the navigation menu at the top and then click on the “Create Contact” button in the top right corner. After that, fill out the contact’s details and then click on the “Create Contact” button to save this contact (learn more).
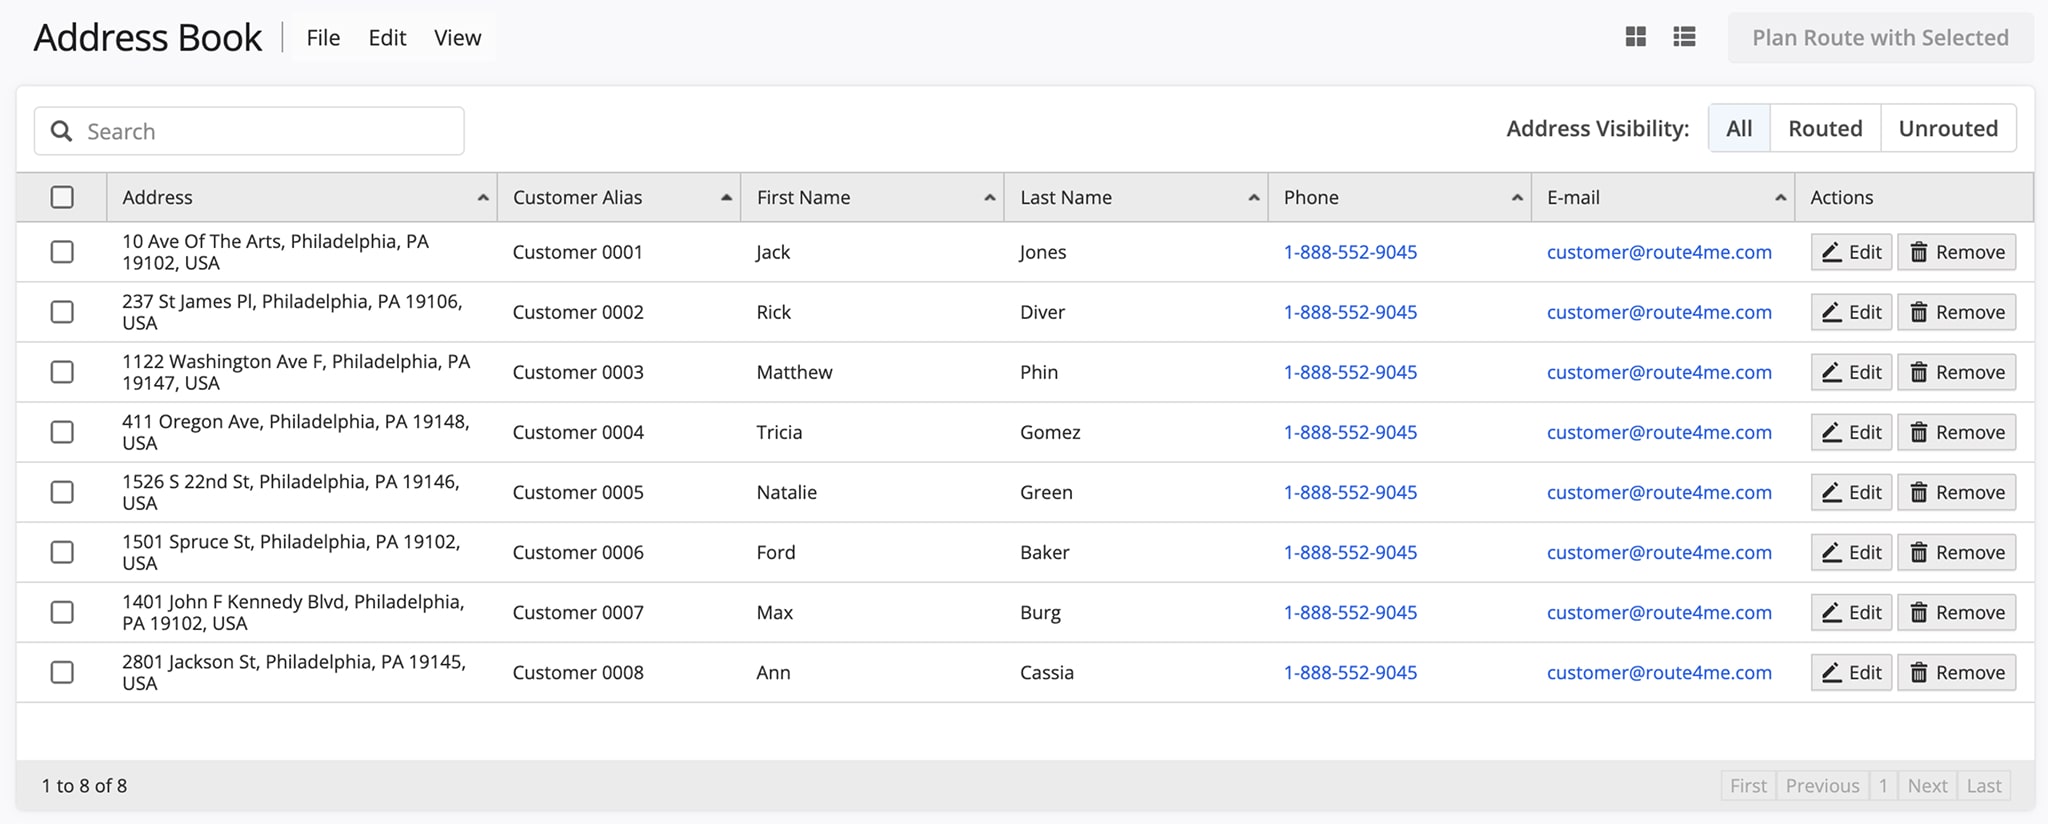
Once you create a new contact on your HubSpot CRM account, Zapier will automatically copy data from this HubSpot CRM contact and create the corresponding contact in your Route4Me Synced Address Book based on your Zap’s settings and specified fields with placeholders and custom text.
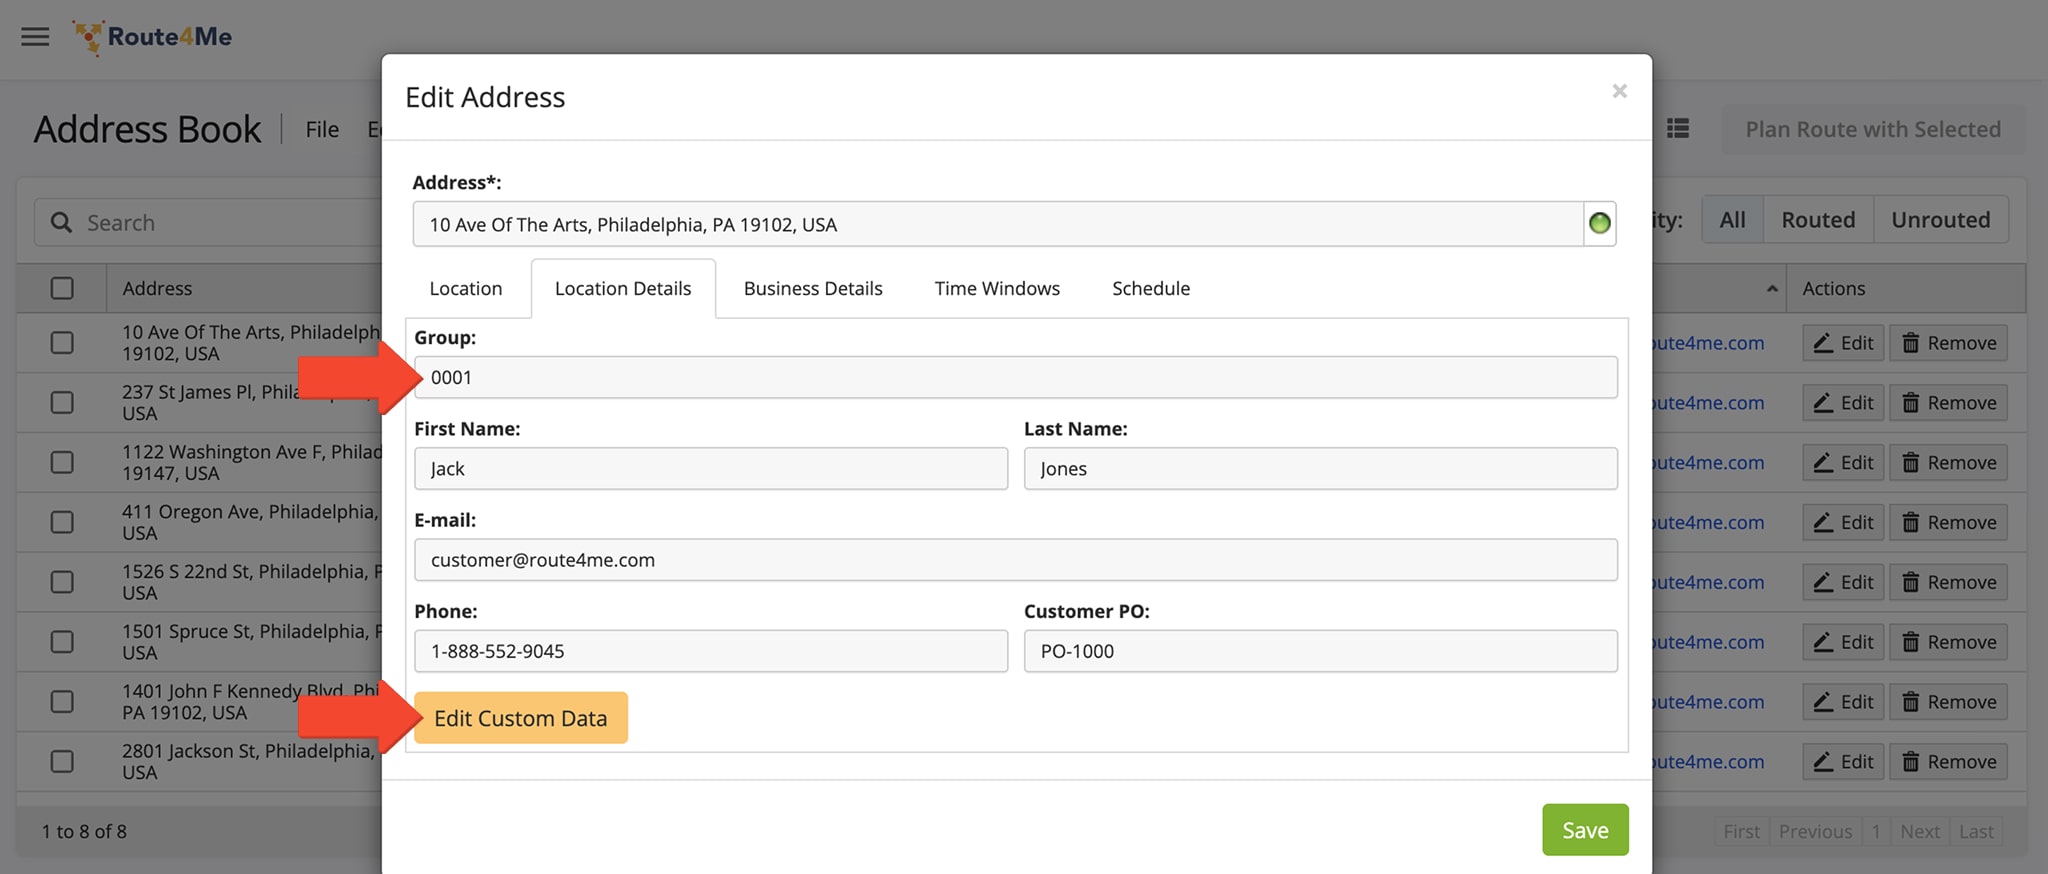
In the Custom Data Editor, you can view what custom data was copied from the created HubSpot CRM contact into the corresponding Route4Me Synced Address Book contact.
In the “Group” field of the contact synchronized into your Route4Me Synced Address Book from your HubSpot CRM account, you can view the predefined group ID assigned to this contact by Zapier. Thus, when you have hundreds of thousands of contacts in your Route4Me Synced Address Book, you can effortlessly sort all contacts synced from your HubSpot CRM account by their custom group ID and hundreds of other parameters using Route4Me’s Advanced Search Groups (learn more).
Visit Route4Me's Marketplace to Check out Various Modules and Add-Ons:
- Operations
Audit Logging and Activity Stream
- Operations
Custom Data Add-On
- Operations
Advanced Team Management Add-On