Visually Immersive & Tabular Route View Modes – Route4Me Mobile App
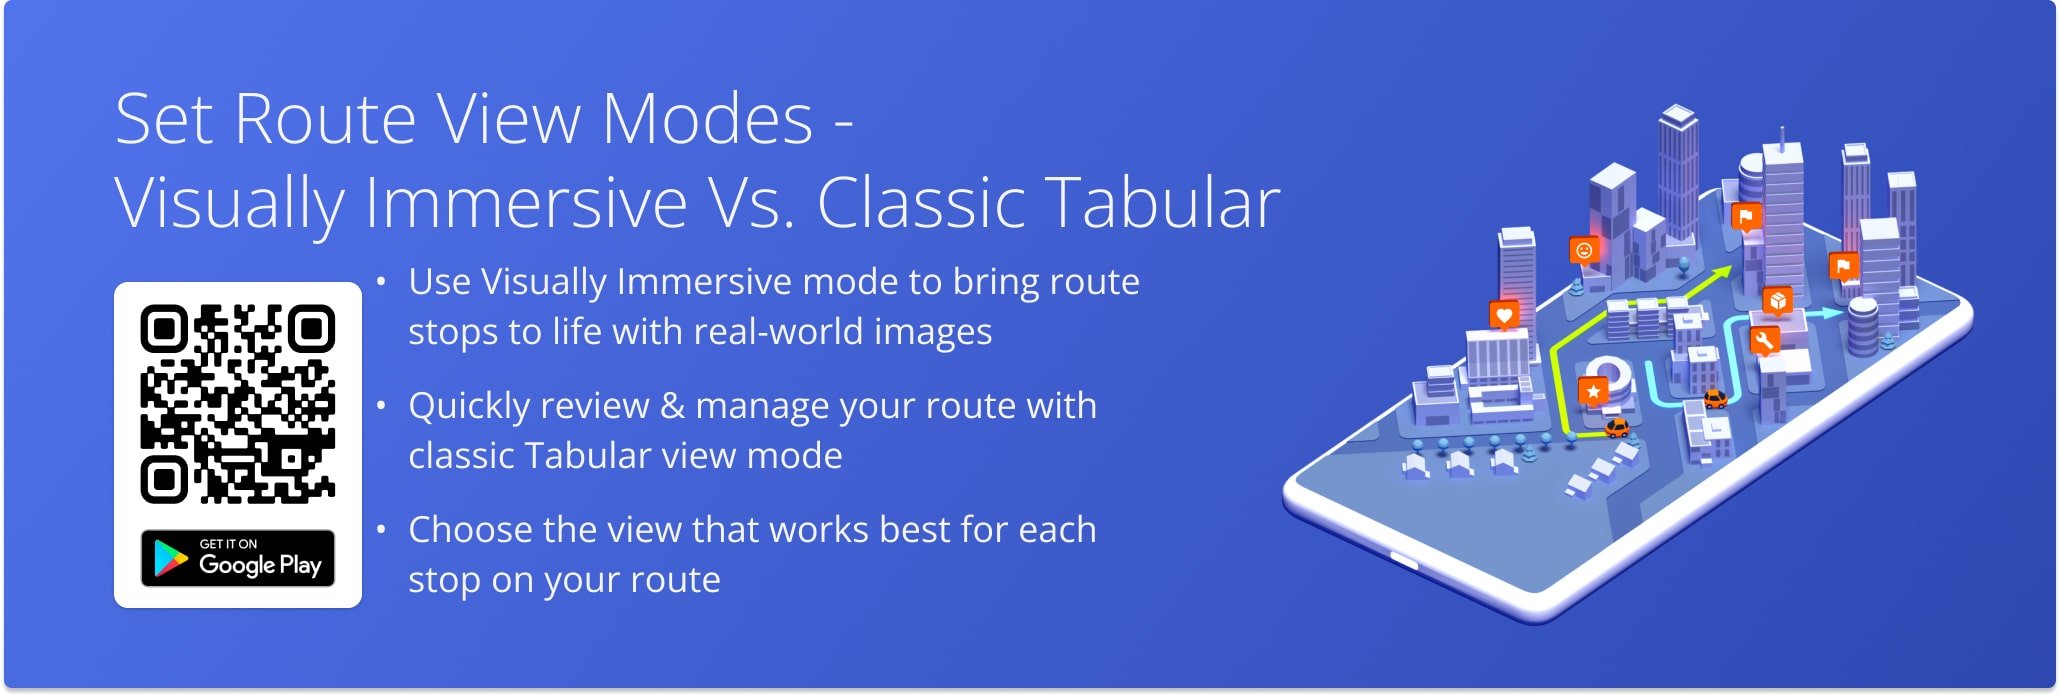
Explore route destinations like never before with Route4Me’s Visually Immersive route view mode for the mobile route planner app. Real-life Google Street View previews showcase each stop, while the classic Tabular View provides a clear, organized overview of your route. This guide shows how each view can support you while completing routes.
NOTE: If you don’t see Visually Immersive Route View Mode in your settings, contact Support for assistance.
Table of Contents
Adjust Route View – Tabular And Visually Immersive Route View Settings
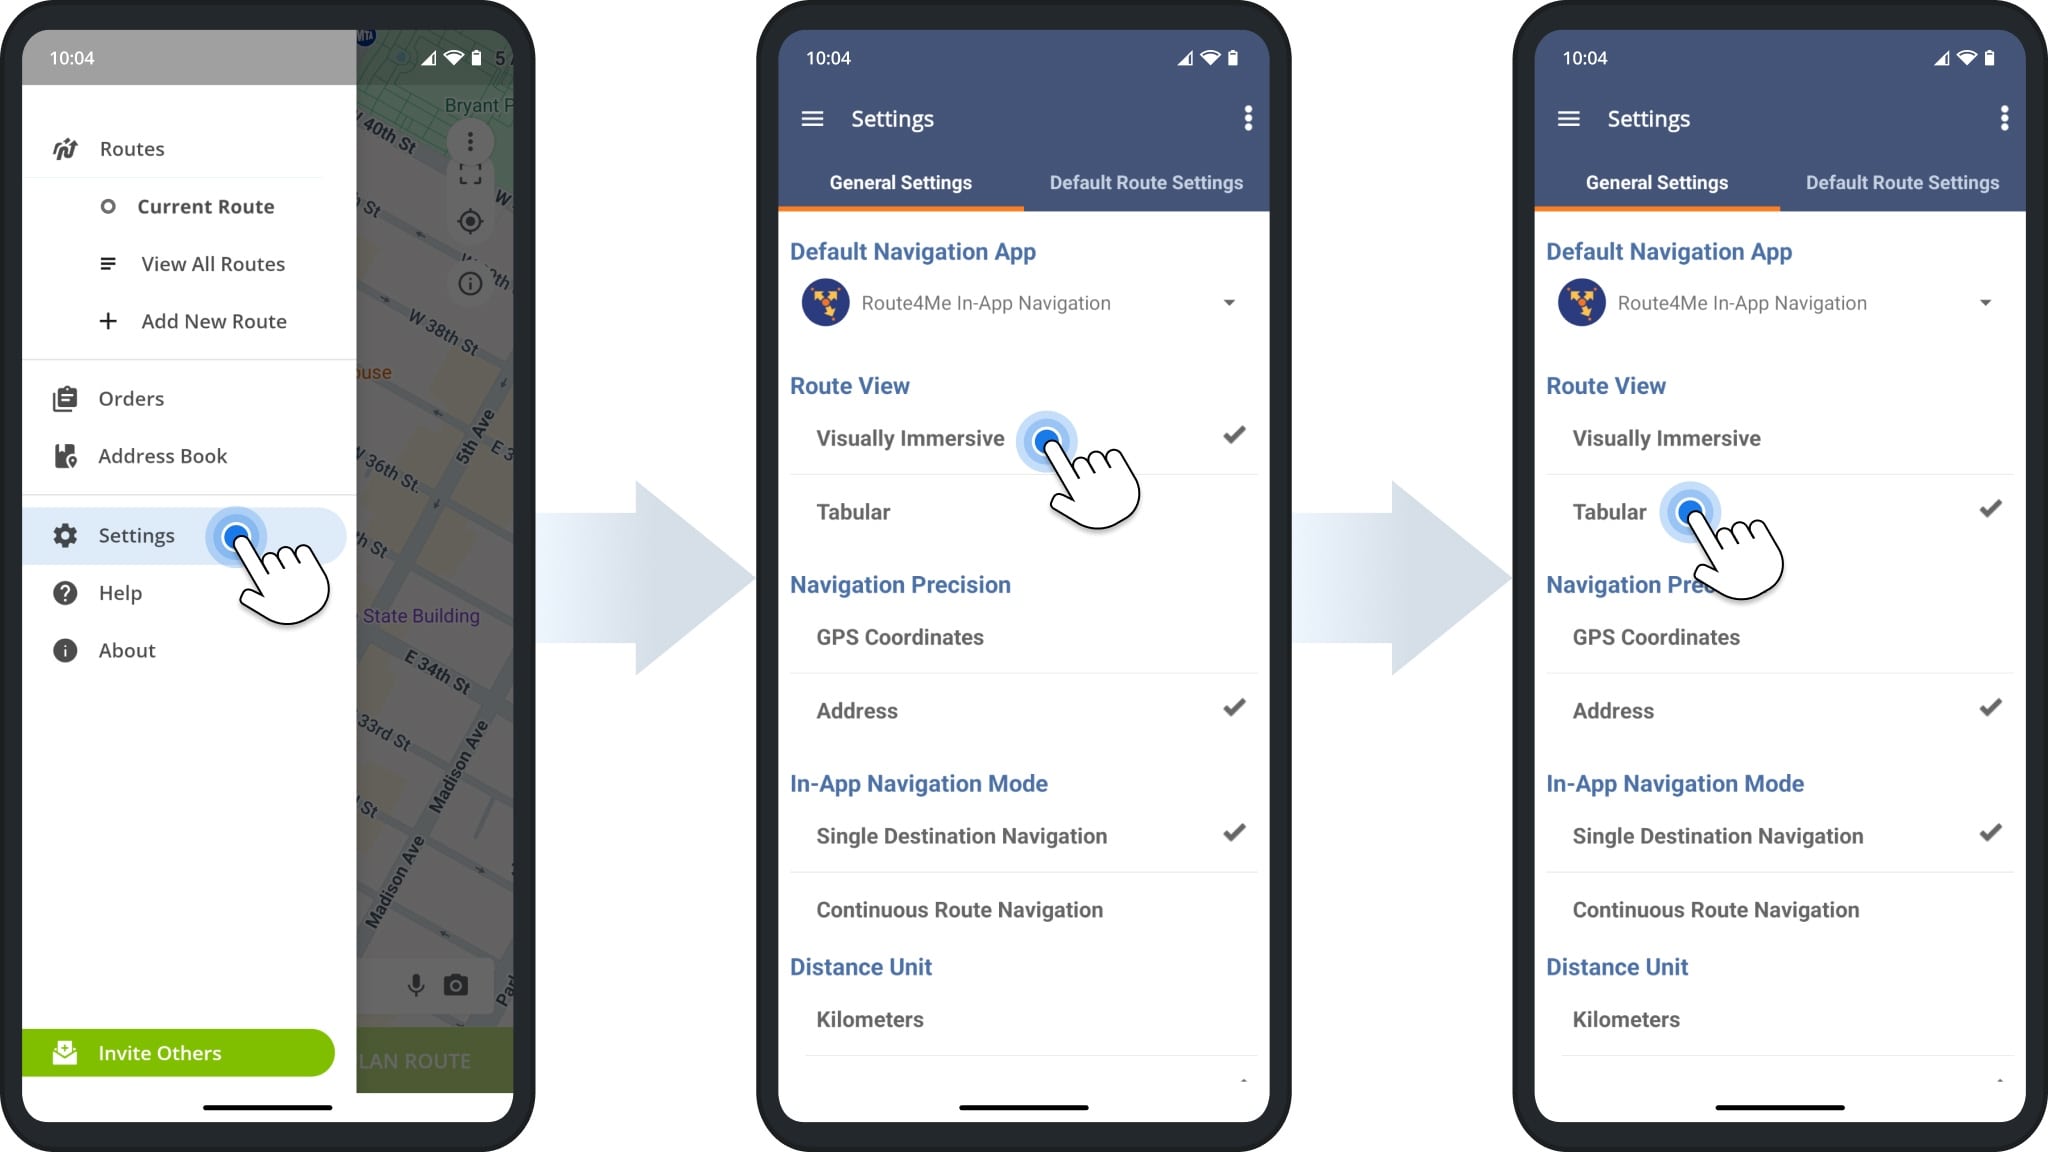
To adjust the route view in your route planner app, first click “Settings” in the main navigation menu, then go to Route View. You will see options for “Visually Immersive” and “Tabular“, Route4Me’s classic view mode.
Tap to select your preferred mode. The app will automatically update and apply your selection to your routes. You can switch between modes at any time.
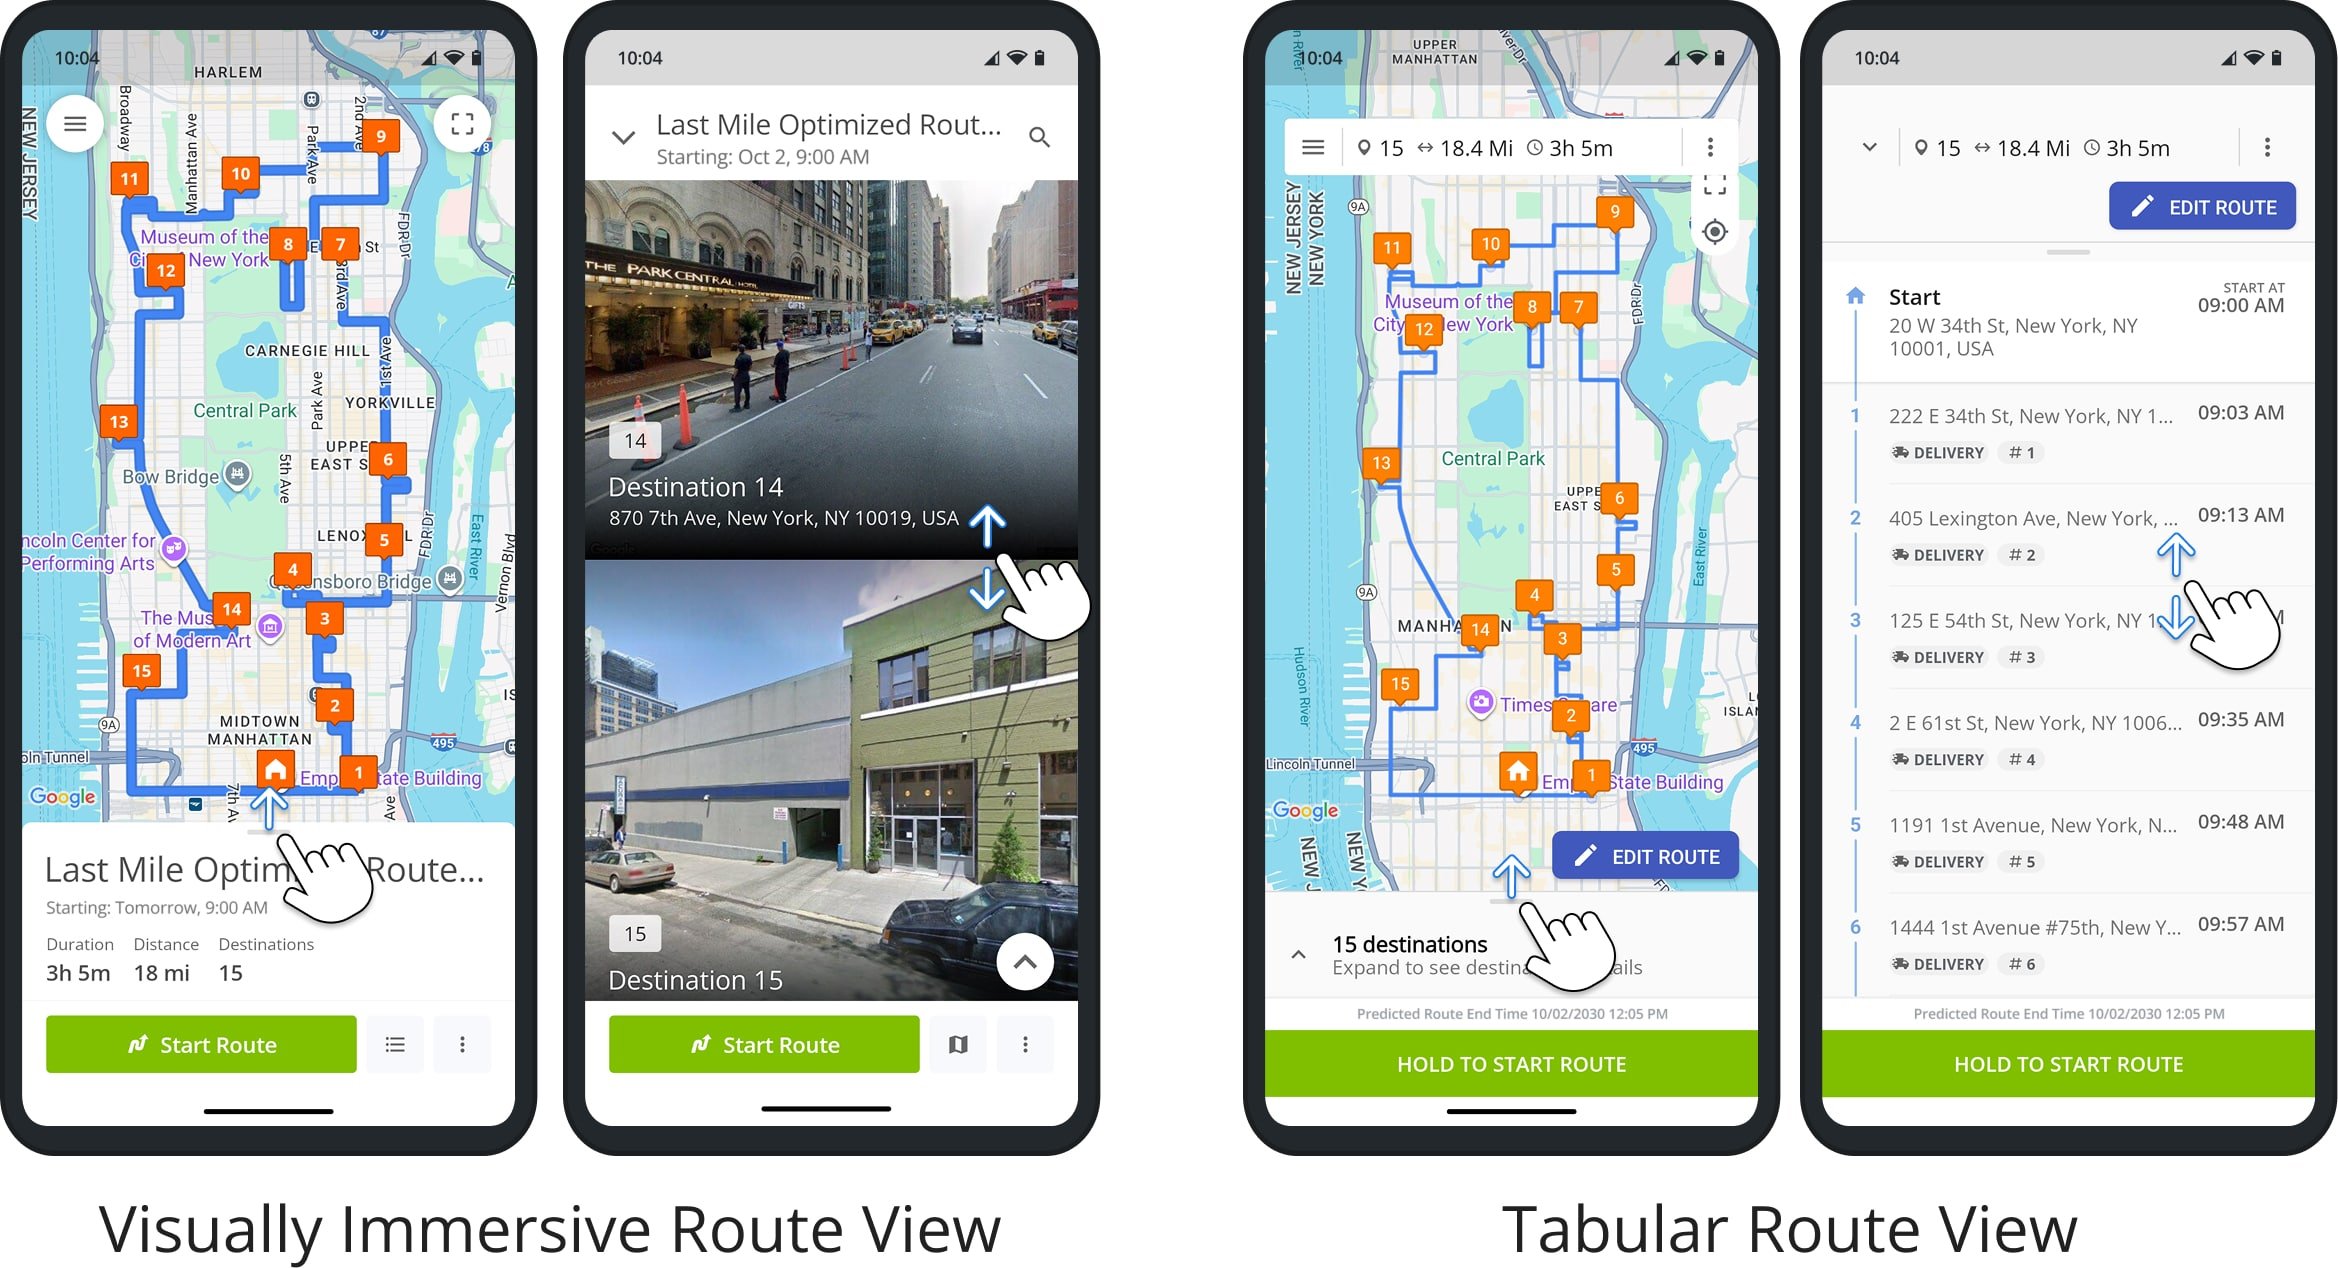
Compare Visually Immersive Vs. Tabular Route View Mode
Visually Immersive Mode provides a Google Street View preview of each stop on your route. This dynamic, map-first view makes it easier to navigate and complete destinations, while helping you quickly recognize entrances, loading docks, and drop-off points.
The Classic Tabular View shows your route in Route4Me’s classic list format, paired with the standard map. This mode is designed for quick, structured navigation through stops and easy access to destination details without switching to image previews.
Complete Routes In Visually Immersive View Mode
Previewing destinations in Visually Immersive Mode before visiting them helps you save time, visualize arrivals, and prepare for potential entrance or loading challenges.
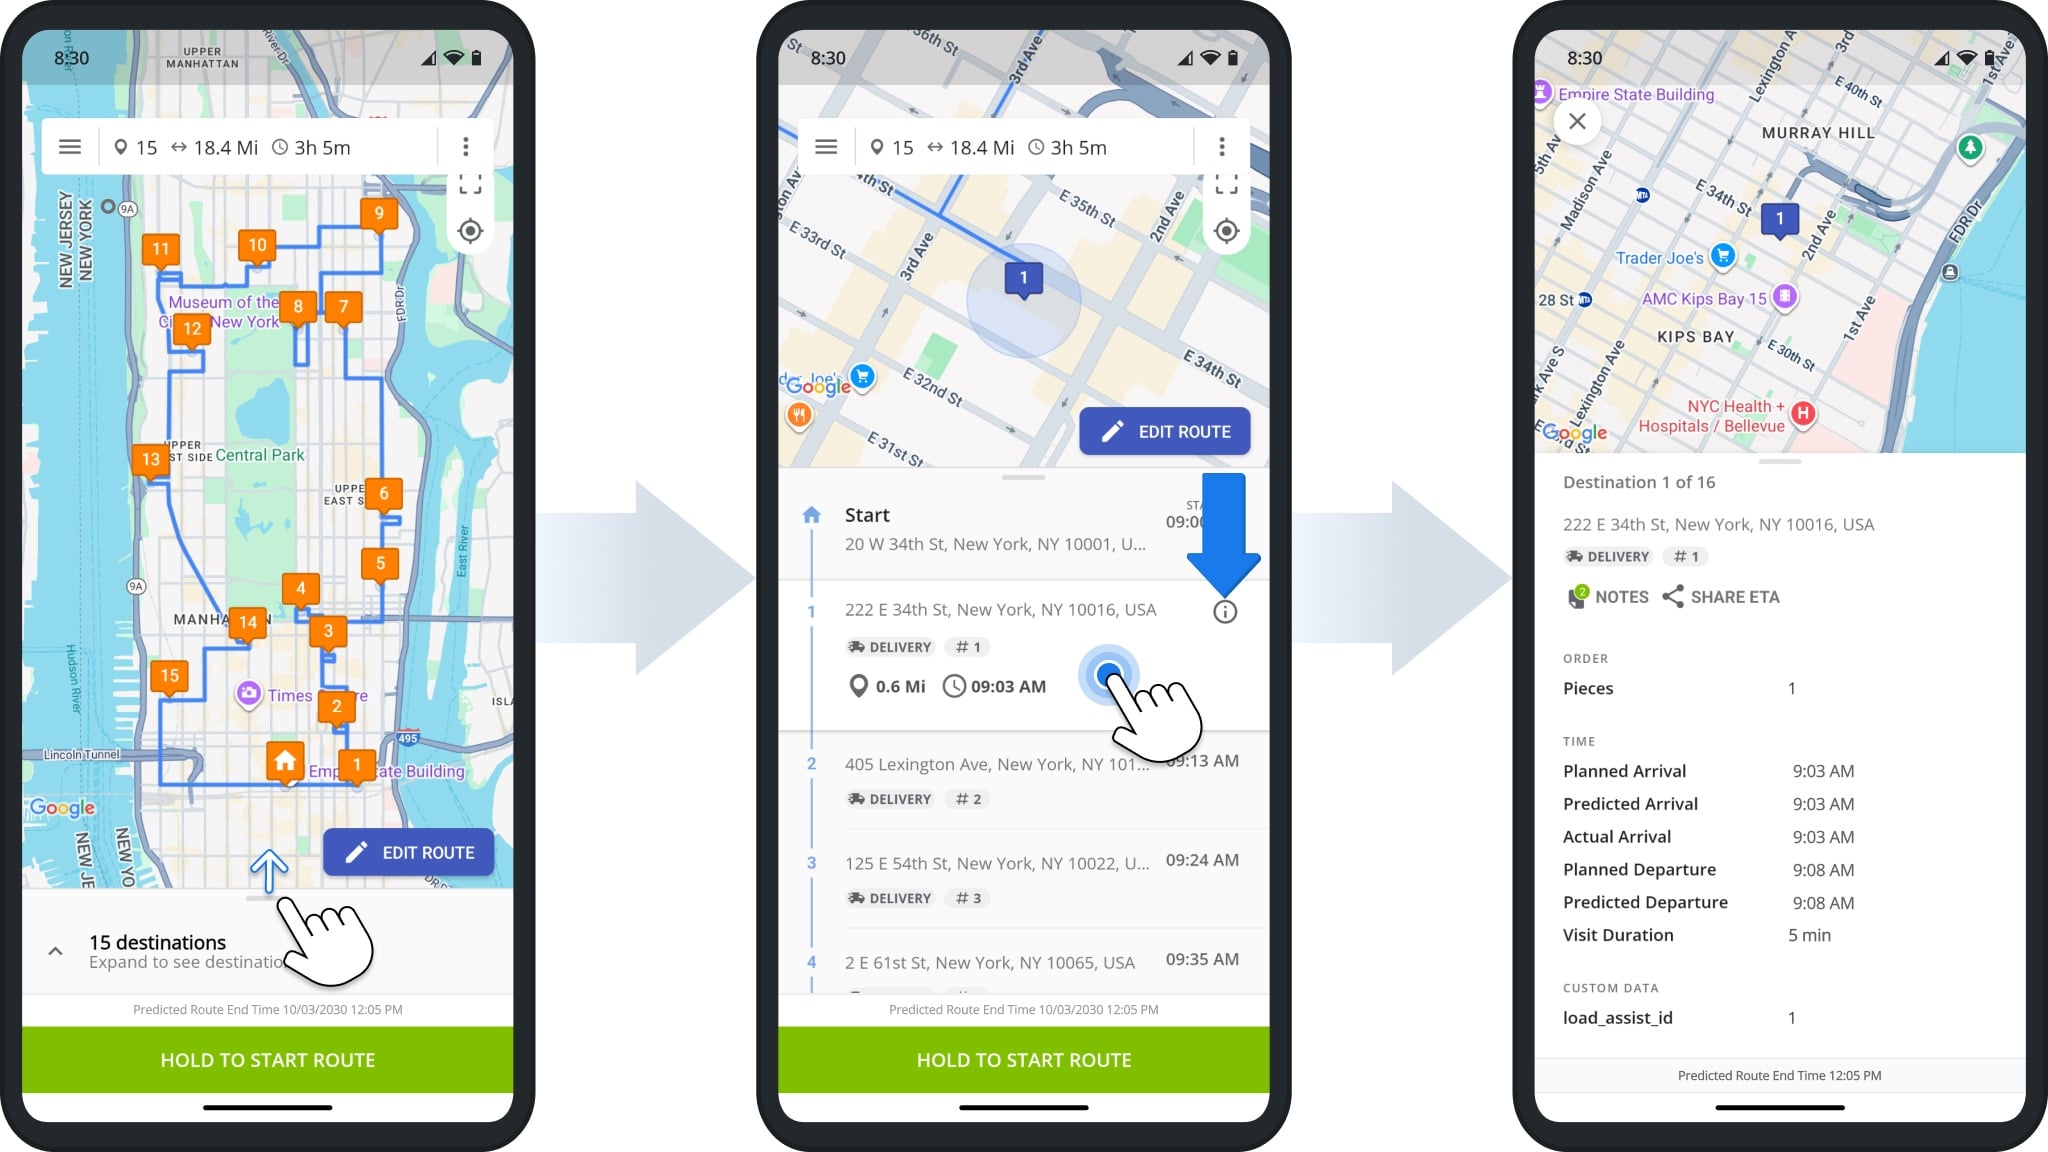
To view your Destinations List, drag the route information panel up or tap the list button in the lower-right corner. Then, tap a destination to open it or use the Information Icon to view details about the stop.
You can scroll up or side-swipe your screen to see all destinations at a glance.

Tap “Start Route” to open your first scheduled destination. A Street View image will appear so you can preview the location before beginning navigation.
When ready, tap the Green Navigation Button to start navigation. Upon arrival, tap “Arrived” to update the destination’s status.

After collecting proof of visit, tap “Mark as Completed“. A preview image of your next destination will open automatically, making it easy to continue navigating.
You can also view Street View images of completed destinations whenever needed for quick reference.

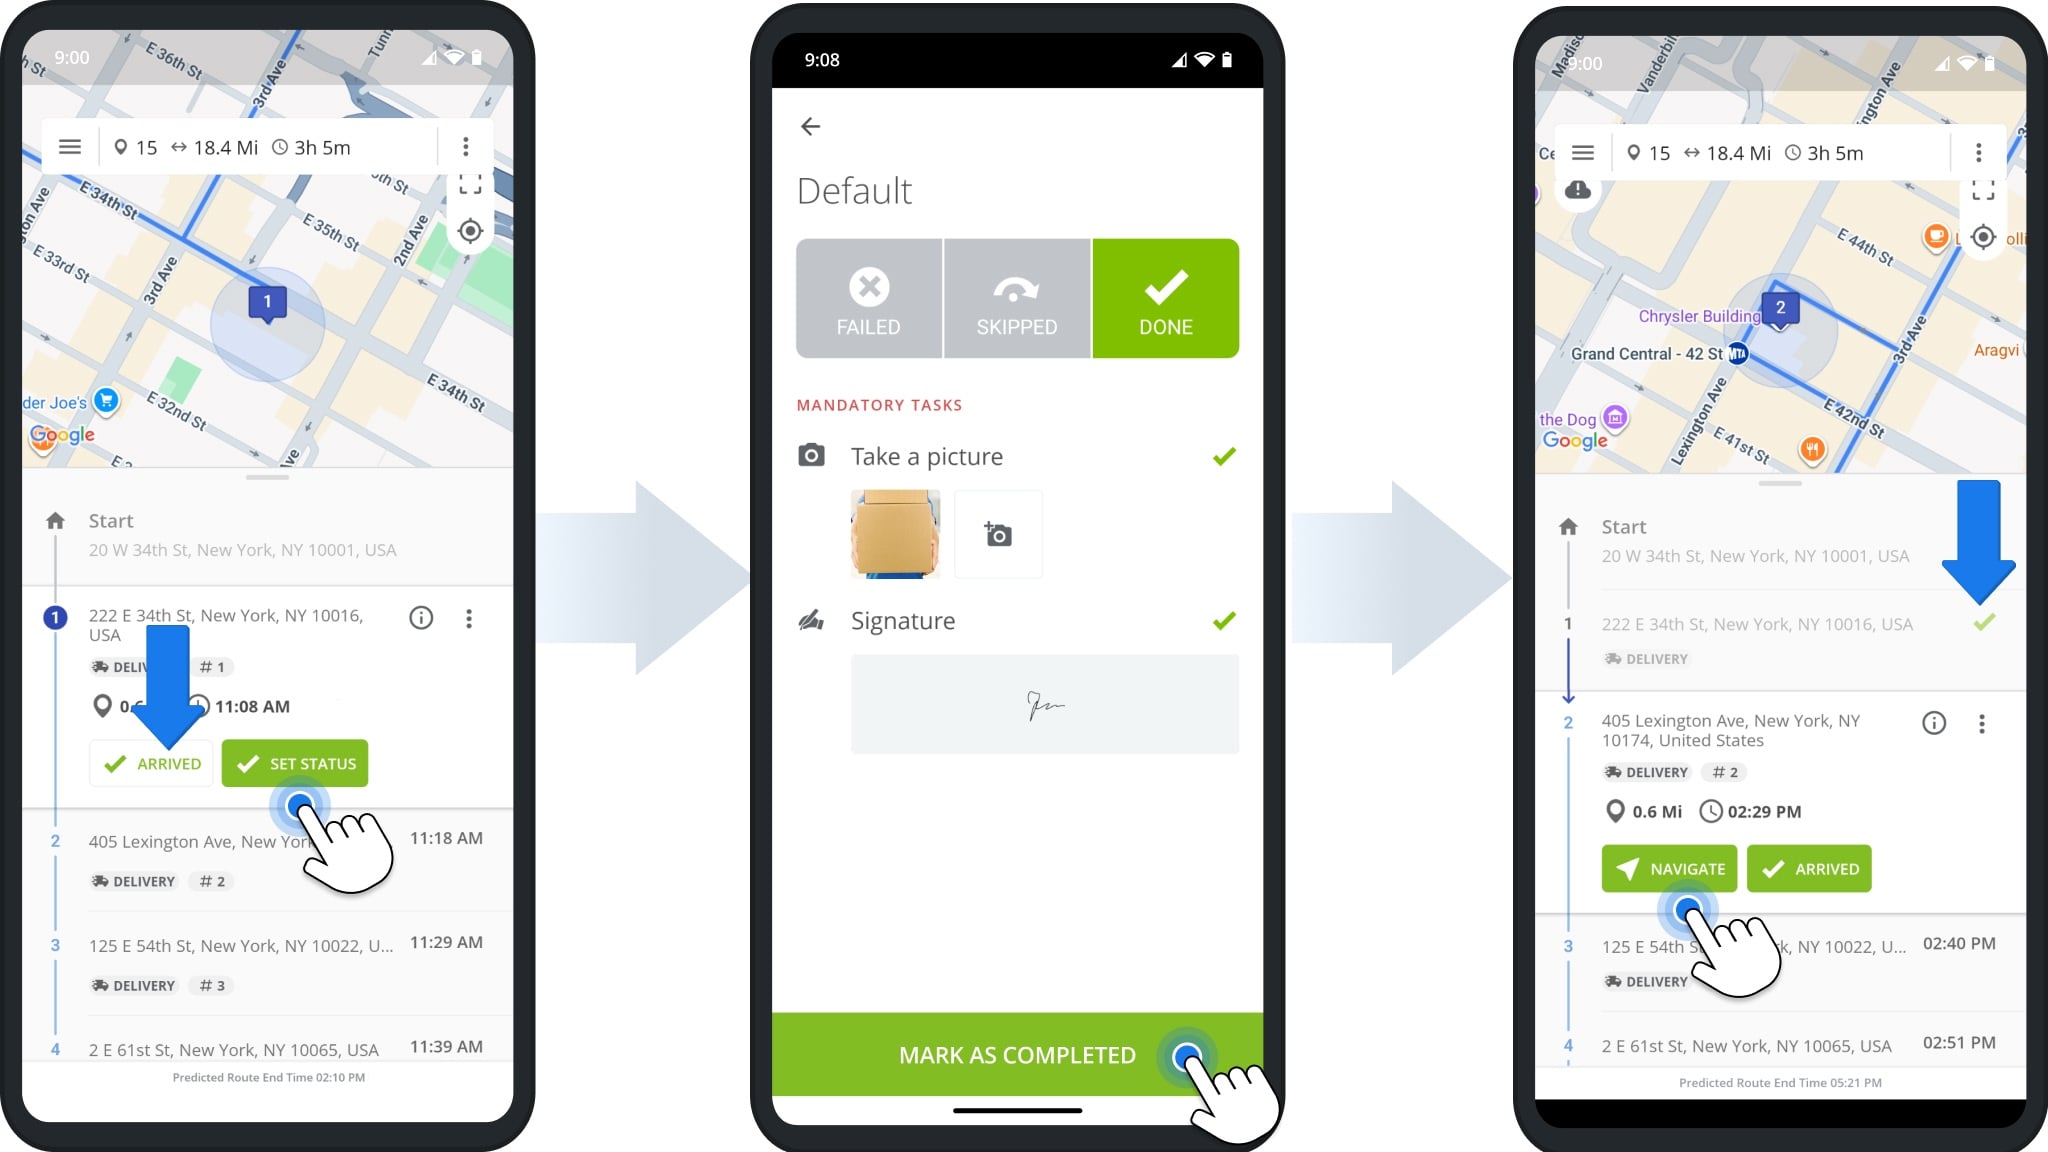
Complete Routes In Tabular View Mode
When in Tabular Mode, drag the route information panel up to open your Destinations List. Tap a destination to open it or tap the Information Icon for details about the stop.
Tap “Hold To Start Route” to open the route. Then, tap “Navigate” to begin navigation to the first scheduled destination.
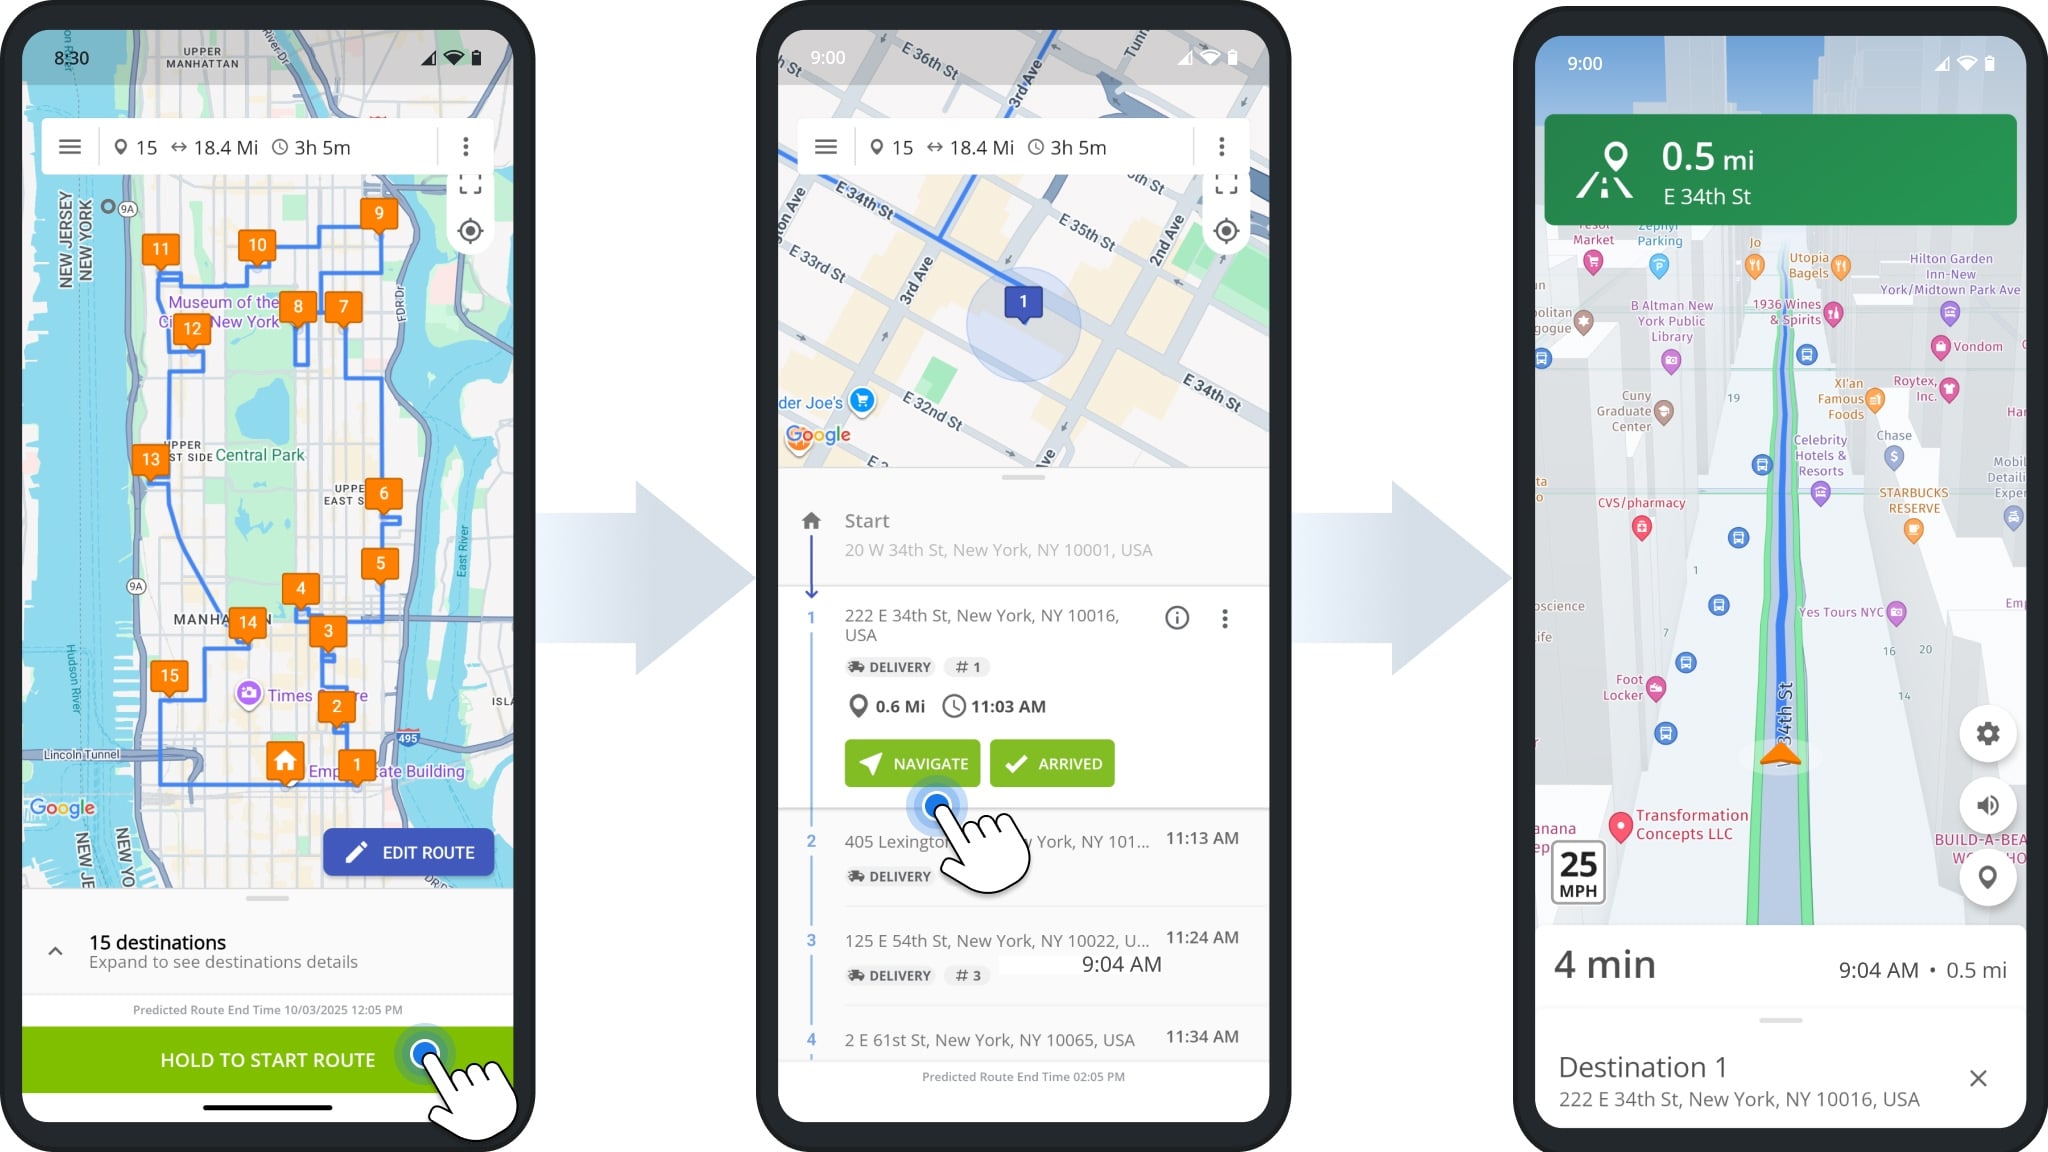
Upon visit completion, tap “Arrived“, then “Set Status“. After collecting proof of visit, tap “Mark As Completed” to update the destination’s status. In the route’s Destinations List, a green check mark will appear next to each stop marked as completed.
Visit Route4Me's Marketplace to Check Out More Add-Ons and Modules:
- Route Optimization
Address Book and Territories Planning
- Operations
Custom Data Add-On